Winter Kale Salad

Do you like salad? Salad can either be really good or really bad. Making a good salad is an art form. Most people assume if you pour some bottled dressing over spinach that’s as good as it gets. There’s a whole world of fantastic salads just waiting to be explored. Salad is all about getting different textures, colors, and flavors together to create something better than the sum of its parts. I don’t think salad is meant to be in recipe form, but to help get some creative juices flowing for you guys, I put together this winter kale salad recipe. 

The secret is…

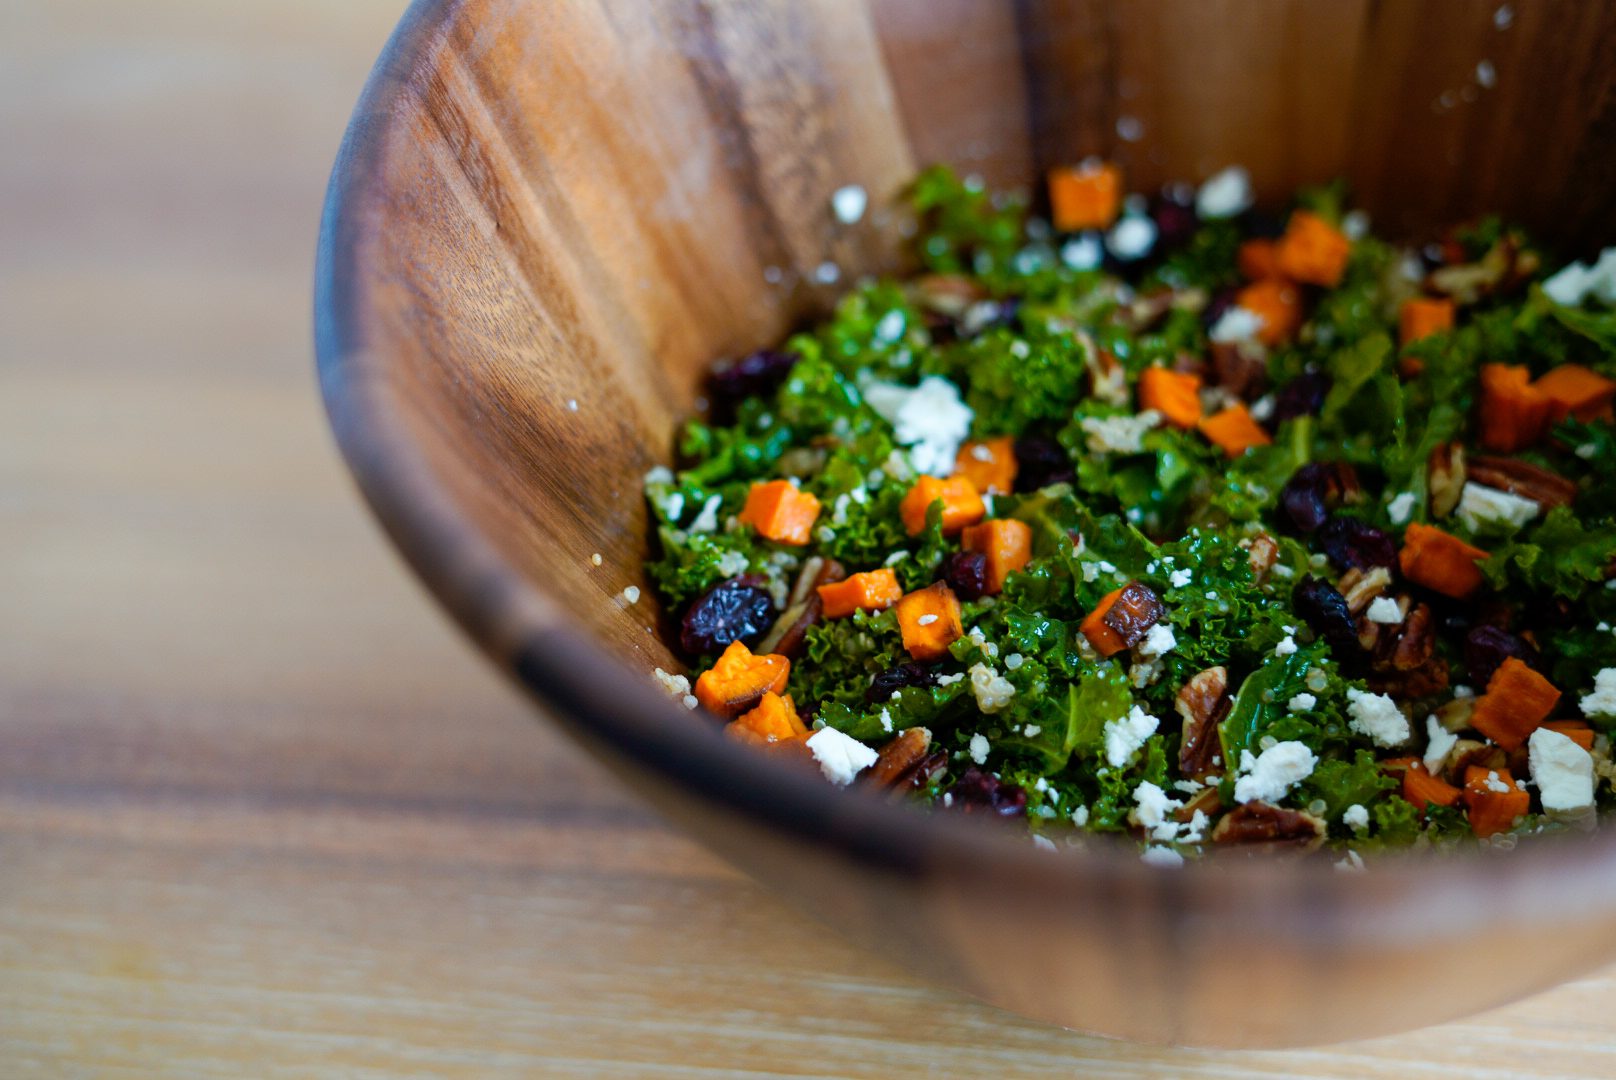
This salad exemplifies what we want a salad to be. It has the perfect balance of sweet and salty with lots of textures to keep you interested and coming back for more. Kale is the real star of the show here, and I am going to show you how to serve this strange plant in a way you will actually enjoy eating.

The dressing is a lemony dijon dressing that compliments the flavor and adds brightness. 

This salad is also great for meal prep! Put the dressing in the bottom of your container, then the veggies, and the greens on top. Give it a mix when it’s time to eat and you have a delicious and healthy salad on the go! 

Some Notes:

We all know that kale is the holy grail of leafy greens…too bad it tastes like dirt. We try to sneak it into smoothies or soups and pretend that it isn’t there. It’s time to bring kale out of the closet and let it shine. There are two things that take kale from a strange backyard weed to king of the vegetables. 

1. Acid

Something about the acidity takes away the dirt flavor. In this salad we are using lemon juice in the dressing to add brightness. The acid also helps to disguise the bitterness in greens so they have a better flavor. 

2. Massage

Massaging the kale helps to break down the stiff texture and helps it to absorb the flavor of the dressing. ALWAYS MASSAGE YOUR KALE. I know it’s a bit weird but it seriously makes all the difference! Massage it for 30 seconds to a minute. 

To achieve flavor balance…

I always add some sort of sweet item to my salads. It gives it interest and rounds out the flavors. In this salad, I use cranberries and sweet potato to give us the winter cozy vibes in salad form.

When it comes to the crunchy texture in a salad I almost always choose nuts over croutons. Nuts don’t absorb the dressing and get soggy like croutons so your texture is preserved. I use pecans in this recipe but you could easily substitute them with sliced almonds, pine nuts, or walnuts. Whichever nuts you use, make sure to toast them to achieve that deep flavor profile!

I like to add a nutrient rich grain to my salads to make it more filling and add more texture. Quinoa is my go to. 

The last texture that all salads need is something creamy. In this case I use goat cheese. It’s earthy, creamy, and brings the whole salad together. 

You can also add:

-Seeds: Sunflower or pumpkin

-Roasted chickpeas

-Roasted red peppers

-Roasted or pickled beets

-Pickled red onions

The dressing:

For the dressing, I make a lemony dijon dressing to compliment the flavors in the salad and add brightness. Add all the ingredients to a jar and shake! It’s as easy as that! 

Hope you guys enjoy this winter kale salad! 

Print

Winter Kale Salad

Ingredients

  • 1 Sweet potato
  • 1 cup Quinoa cooked
  • 4 cups Kale
  • 1/2 cup Goat cheese
  • 1/2 cup Dried cranberries
  • 1/2 cup Pecans Toasted

Dressing:

  • 1/4 cup Olive oil
  • 2 Lemons juiced
  • 2 tbsp Honey
  • 1 tsp Salt
  • Pepper
  • 1 tsp Dijon mustard

Instructions

  • Peel and dice the sweet potato. Roast in a 400° oven until soft.
  • Prepare quinoa according to the instructions on the package.
  • Add all dressing ingredients to a large bowl (large enough for your salad) and whisk until all ingredients are combined. Taste and add salt/ honey to your preference.
  • Wash and chop kale then add to the bowl and massage with the dressing for at least 30 seconds.
  • Add remaining ingredients to the salad and toss.
  • Serve and enjoy!

Prosciutto Wrapped Asparagus

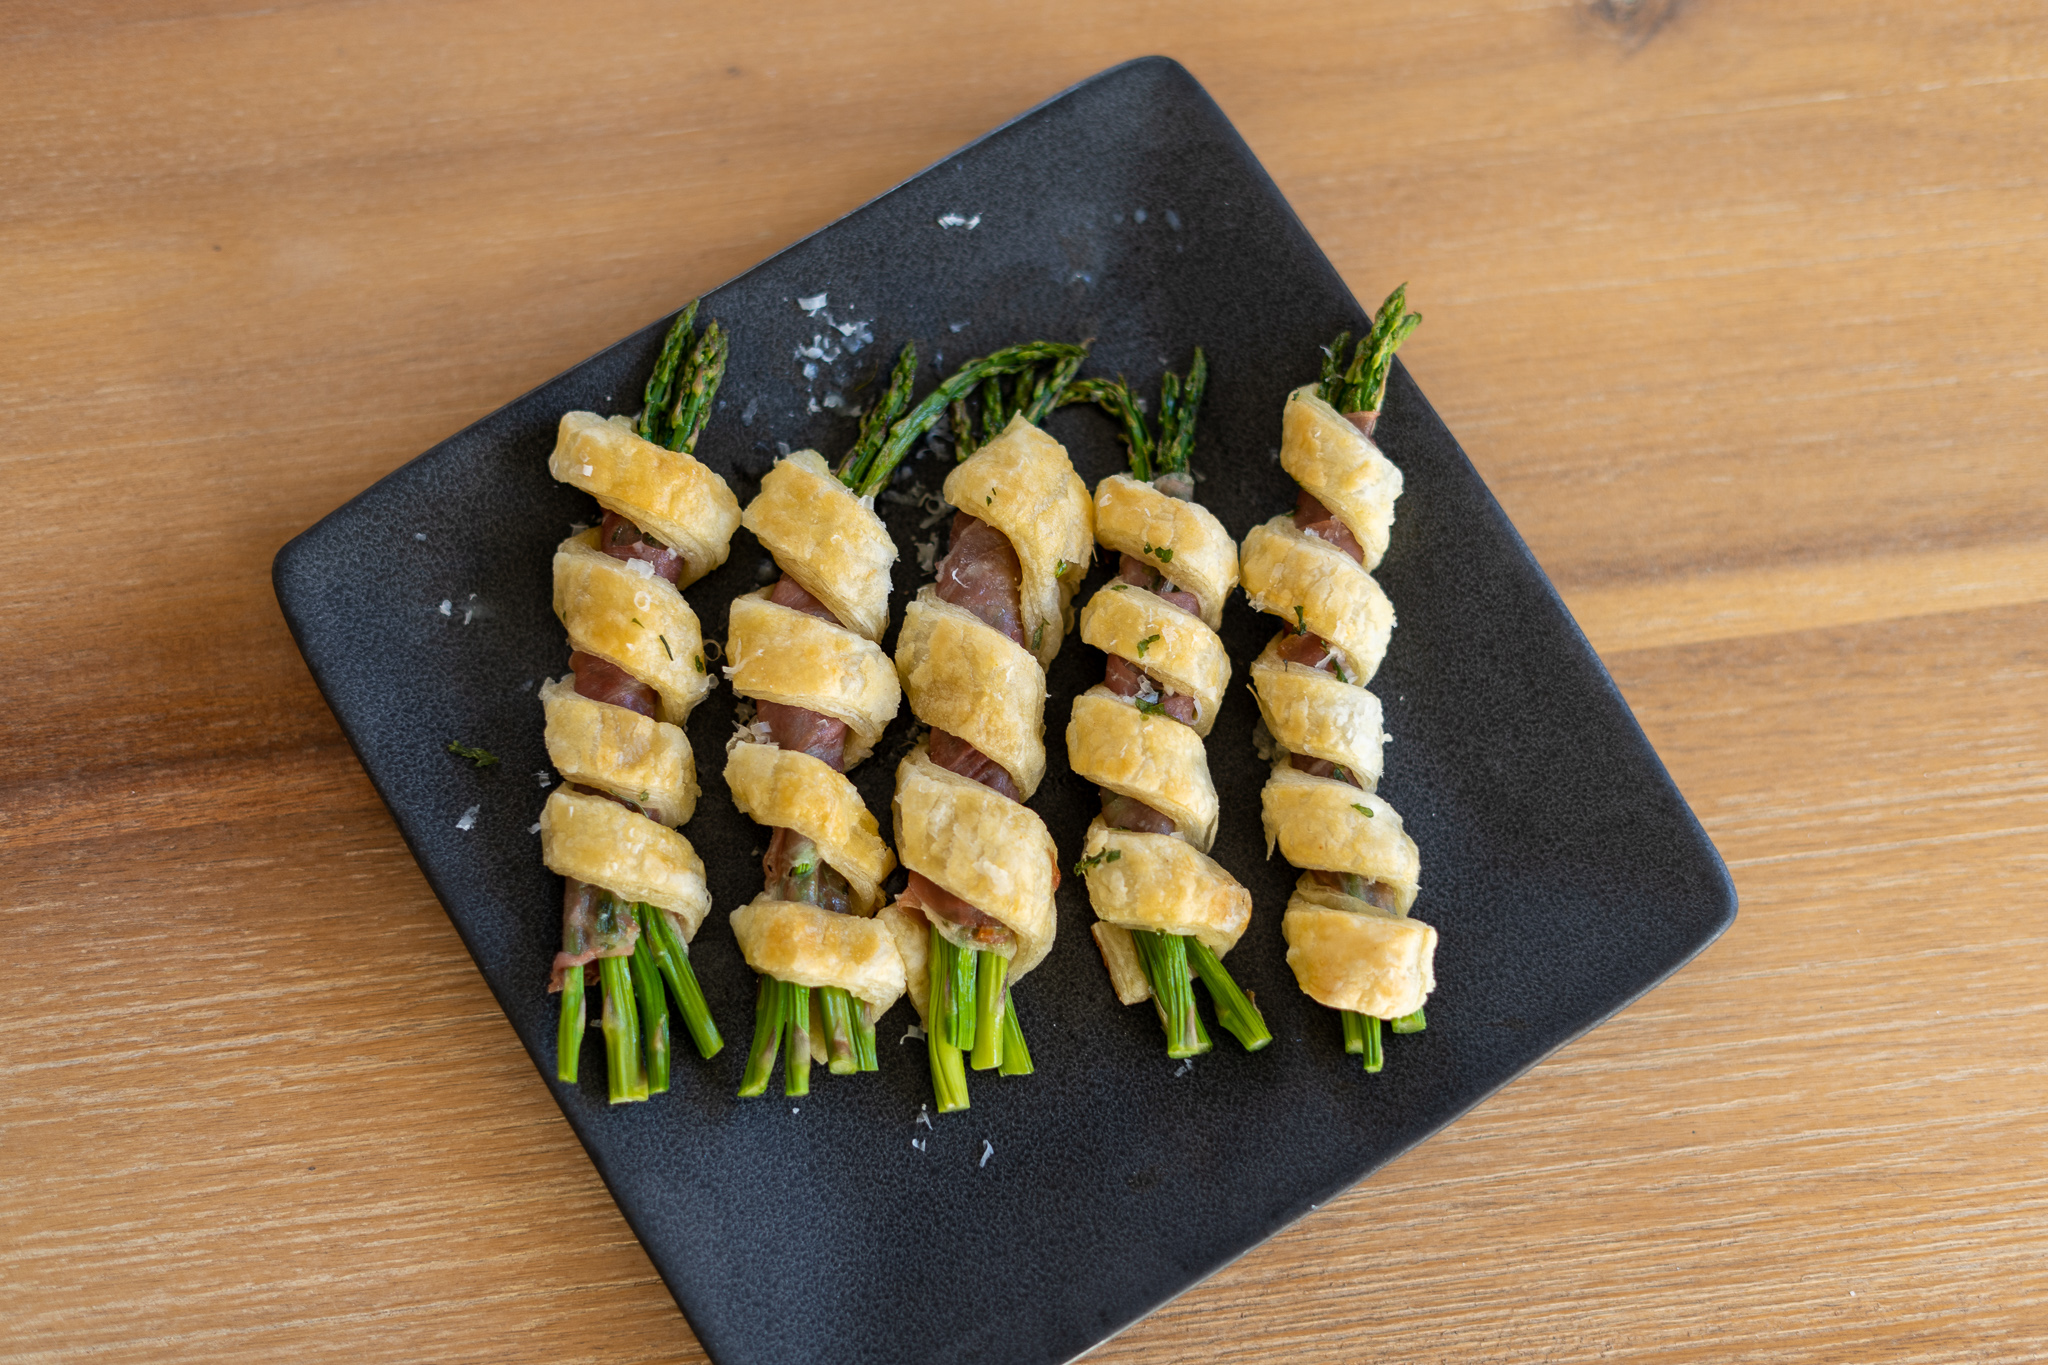
When it comes to making “fancy” food this asparagus is a real show stopper and doesn’t take much work at all! These asparagus bundles are wrapped in a layer of salty prosciutto, and then a layer of buttery puff pastry. They are the perfect compliment to any meal or even just to snack on (I have definitely done this). 

These prosciutto wrapped asparagus bundles from heaven look like you spent hours slaving away in the kitchen when really these only take about 30 minutes to make. These are great for days when you really are spending hours preparing a meal. 

What really makes this asparagus so good? The puff pastry. It is buttery and flaky and just feels like you are eating a cloud. 

What is puff pastry? 

Layer and layers of pastry that puffs up when you cook it. It is flaky and buttery and totally takes prosciutto wrapped asparagus to the next level. Puff pastry is pretty labor intensive to make but luckily you can buy it in the freezer section at most stores. If you are an overachiever and want to make your own puff pastry…you are a much more patient person than me. I have made puff pastry twice and I will never do it again. This is one of the very few things I will just purchase premade.

Some Notes:

Asparagus: My asparagus was pretty thin, so I bundled them together in bunches of 3-4. If your asparagus is thicker, you can probably stick to 1-2.

Prosciutto: I cut my prosciutto in half lengthwise to stretch it a bit (this stuff is a bit expensive so I try to get the most out of it). 

Puff pastry: You can make your own but I recommend just buying some from the freezer section. Make sure to let it thaw before using so it is easy to use. If you try to use it while it is frozen you won’t be able to wrap it around the asparagus and it won’t cook properly. 

Wrap your asparagus in the prosciutto and then wrap with puff pastry. Egg wash if you’d like, it doesn’t make a difference in the taste. 

Bake at 400*F for 15 min. 

For a bonus flavor explosion, brush with garlic butter when they come out of the oven. 

Here you have it! A fantastic appetizer that doesn’t take long to make and does not disappoint. 

Enjoy!

Print

Course Appetizer, Side Dish
Keyword appetizer, aspragus, easy
Servings 10

Ingredients

  • 1 bunch asparagus
  • 6 slices proscuttio
  • 2 sheets puff pastry

Instructions

  • Thaw out the puff pastry
  • Preheat oven to 400°
  • Separate your asparagus into bunches of 3-4 if they are small or 1-2 if they are large.
  • Cut the prosciutto in half lengthwise and wrap the strips around the asparagus bundles.
  • Roll out the puff pastry into a rectangle slightly larger than the one you started with (about 1 inch in each direction). Slice into ¾ inch strips and wrap around the asparagus.
  • Optional: Brush the tops with an egg wash (1 egg and a splash of water whisked together)
  • Bake for 15 min.
  • Optional: Brush the tops with garlic butter
  • Enjoy!

Honey Pear Bruschetta

I have a small obsession with bruschetta. I don’t know if it’s the toasty bread or the pile of toppings, but I’m hopelessly obsessed with this honey pear bruschetta. 

What is bruschetta?

Bruschetta is Italian and consists of a toasted piece of bread with toppings. Crostini is also Italian meaning “little toasts.” These are smaller rounds, also with toppings. Bruschetta and crostini are essentially the same thing but bruschetta is usually a bit larger. Traditionally bruschetta is garlic, tomato, and basil on toasted bread. Modern day bruschetta’s have a ton of variety in toppings and spreads. They can be savory, sweet, or both! 

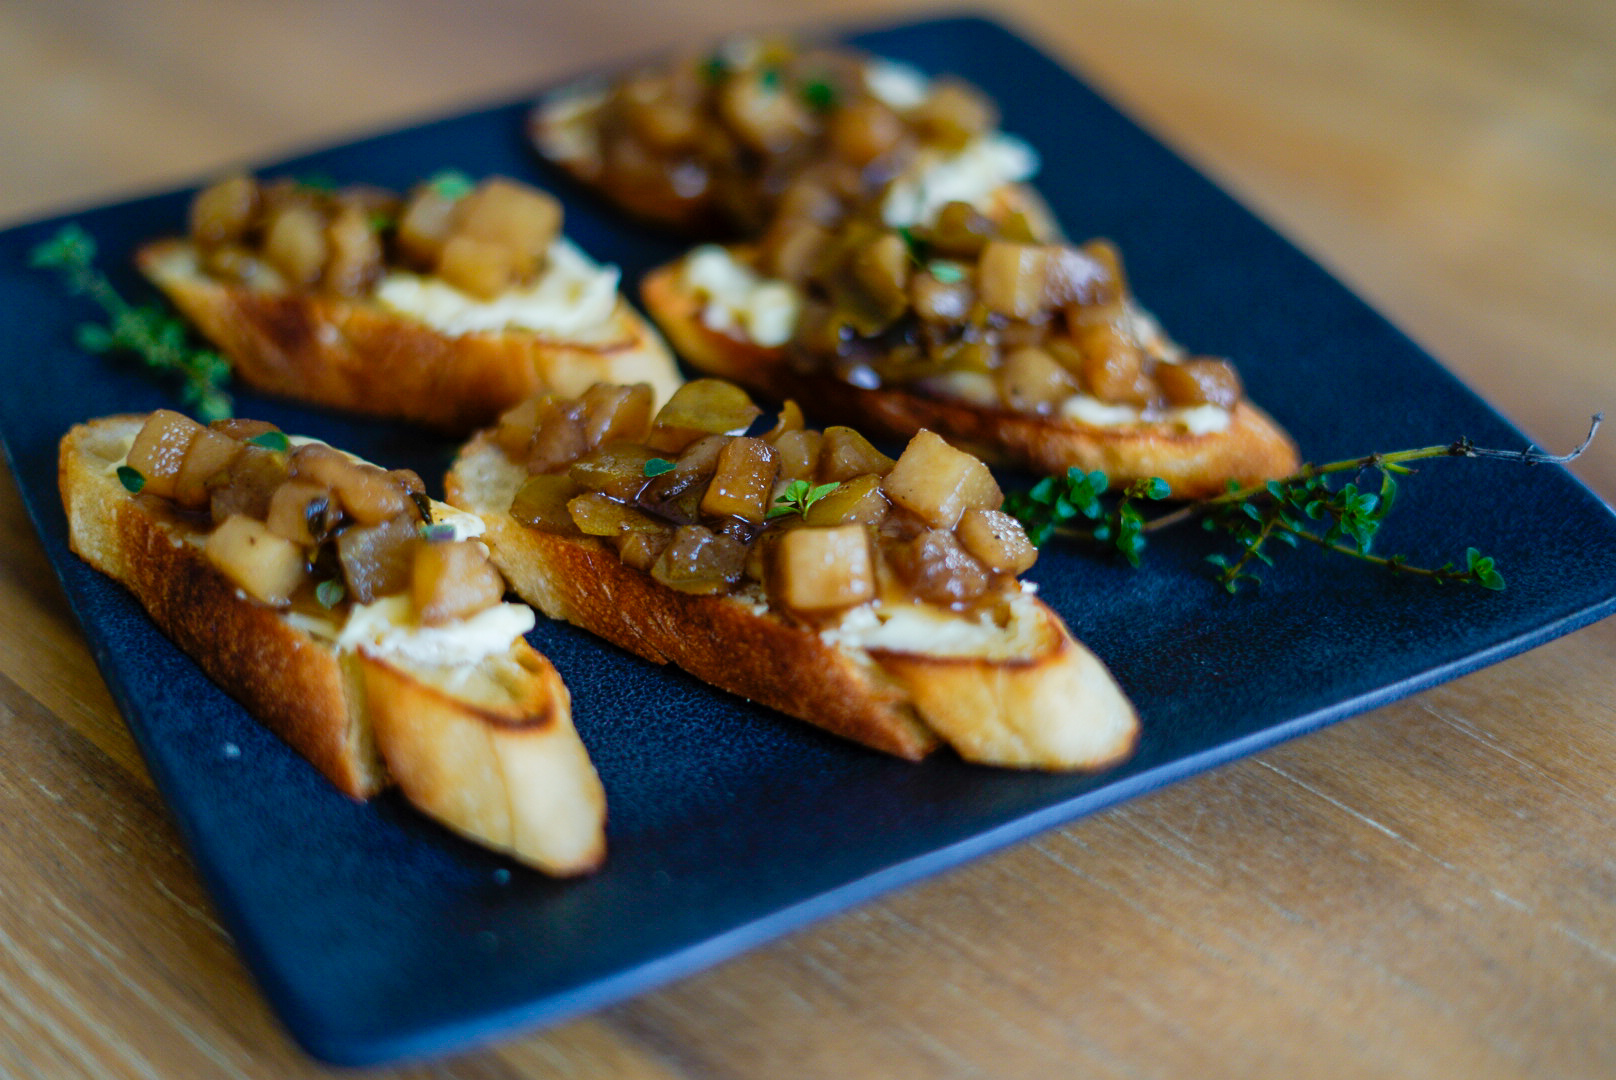
This honey pear bruschetta has everything you could want: toasty bread, salty and creamy brie cheese, and spiced sweet honey pear chutney 

All of that in one bite is almost unfair. 

The other great thing about bruschetta is its SIMPLE. It’s all about layering 1-2 simple ingredients to create a mind blowing combination all in one bite. You don’t want too many things going on or you start to lose flavors in the craziness. 

This honey pear bruschetta is a salty sweet combo that is sure to impress. Just be careful to not fill up on this stuff before dinner… Seriously. It will happen. Be careful.

How to make honey pear bruschetta:

There are 3 components to this bruschetta:

  • Bread
  • Cheese
  • Chutney 

Bread

For the bread, I usually choose a baguette. I like the crust and they toast beautifully. Slice it on a 45 degree angle for maximum surface area. Brush on BOTH sides with olive oil and toast under the broiler until crisp. Here is my BIGGEST tip of the day. DO NOT TAKE YOUR EYES OFF THE TOAST. They will burn the second you look away. You have no idea how many hours I have spent scraping burnt bits off toast with a butter knife (yes this does work if you burn them). Just save yourself some grief and watch them. 

Cheese

The best cheese for this bruschetta is brie. It’s creamy and salty and compliments the pears perfectly. In my opinion, it is always worth spending a little more to get better cheese. Good cheese makes a HUGE difference. Please…spend the extra $2 and get something a little better. The brie needs to be room temperature to spread easily. Don’t forget to take it out of the fridge about 45 min before you plan on assembling the bruschetta. 

Chutney

The honey pear chutney is really simple to make but does take about 40 min to let it simmer down completely. Luckily it doesn’t need very much attention during that time. The idea here is to cook the pears down until they are soft and give all the flavors time to develop.  You can add chopped walnuts to the chutney for extra texture but that is totally up to you. For the chutney, add all your ingredients to a medium sized pot and simmer while stirring occasionally for about 40 min. The chutney needs to be thick enough to not drip off the bread. At the end stir in 1tbsp of butter and you are ready to serve! 

Assembly

When it comes to assembling the bruschetta, you can pre-assemble or you can leave the ingredients out for people to build their own. 

These ingredients can also be made ahead of time or even the day before! This is great for holidays so you can have an appetizer ready to go the day of.

There you have it! Honey pear bruschetta! I hope you guys enjoy this salty sweet appetizer.  

Print

Honey Pear Bruschetta

Course Appetizer
Keyword appetizer, bruschetta, easy

Ingredients

  • 1 baguette
  • 1 brie wheel
  • 2 pears diced
  • cup water
  • 2 tbsp honey
  • 1/4 cup brown sugar
  • 1 tsp salt
  • 1 tsp balsamic vinegar
  • 1 tbsp butter
  • fresh thyme

Instructions

  • Slice the baguette on a 45 degree angle and toast.
  • In a medium sized pot add in the pears, water, honey, and brown sugar.
  • Bring to a simmer over low heat and simmer for about 40 minutes. The pears should be soft and will have made a thick chutney. It needs to hold together enough to not fall off the bread!
  • Add the balsamic and salt. More salt may be needed, taste before you add more.
  • Stir 1 tbsp of butter into the chutney.
  • To assemble the bruschetta: Spread about 2 tablespoons of brie on the toasted bread then top with the pear chutney.
  • Garnish with fresh thyme.
  • Enjoy!

THE BEST Spinach & Artichoke Dip

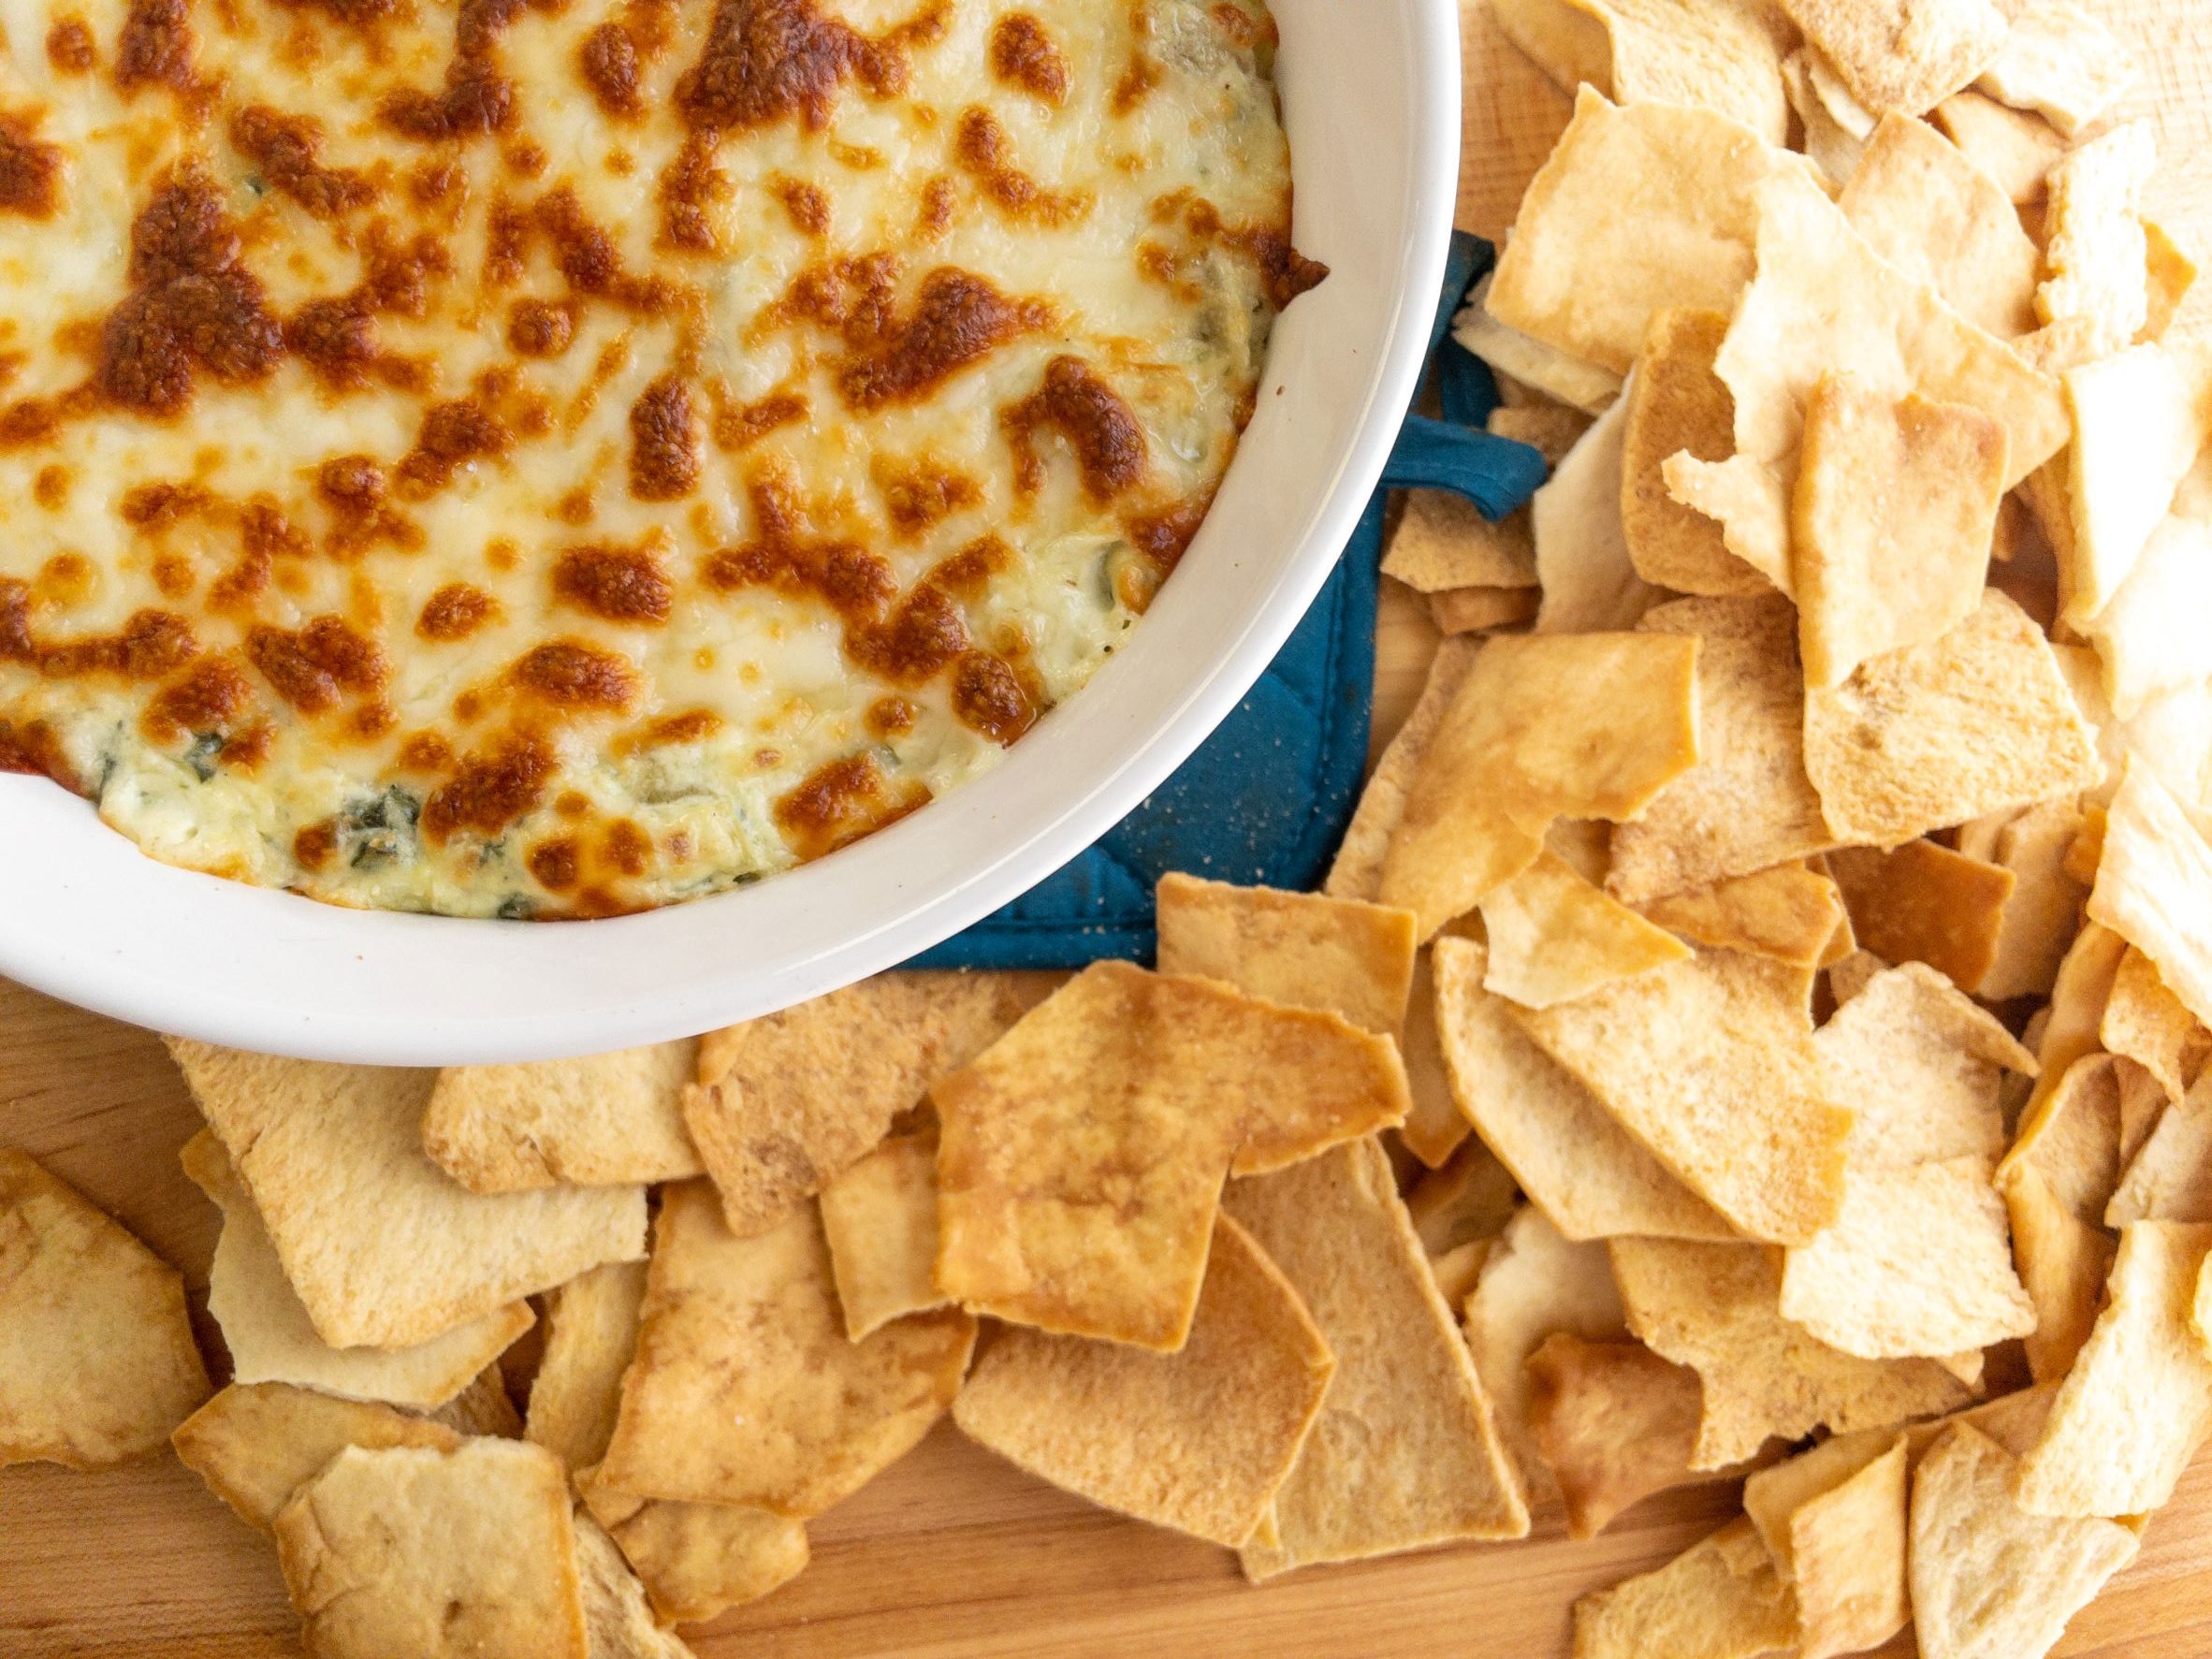
When it comes to guilty pleasure foods, spinach artichoke dip is definitely one of my favorites. It doesn’t get much better than a pita chip piled high with creamy, salty, cheesy delicious dip. It even has spinach in it so it’s healthy, right? Okay even if it isn’t super healthy, this is definitely good for the soul. This is THE BEST spinach and artichoke dip.

It’s always strange to me that people buy pre-made spinach artichoke dip…this is SO much better and SO easy! Try it and it will CHANGE your life. IT’S THAT GOOD. 

If you don’t want to read on and on about how to make this recipe, you can skip to it below. My feelings won’t be hurt too bad.

Jump to Recipe

Now that you are all hyped up here’s some notes: 

Spinach: I 100% recommend using fresh. I have tried it with frozen and it isn’t the same. 

Artichokes: It’s best to use frozen artichokes in the steam-able bag. The marinated artichoke hearts add too much oil. You can use artichoke hearts canned in water but make sure to dry them really well so you don’t add unnecessary moisture to the dip.

Cheese: Because this is mostly cheese, you want to use the good stuff. When melting cheese it is best to grate your own. Pre-grated cheese is covered in cellulose to prevent clumping in the bag. When you melt pre-grated cheese the cellulose prevents the cheese from melting properly. There’s your science lesson for the day…. But really we just want the cheese pull.

Just look at this

How to make THE BEST spinach and artichoke dip

In a medium sized pot over medium heat, melt the cream cheese until spreadable. Add in the sour cream, garlic, spinach, and artichoke hearts. Mix until thoroughly combined. Add in the parmesan, mozzarella, and red pepper flakes. Mix until all ingredients are combined and the cheese starts to melt. 

Immediately transfer to an oven safe pan and top with the rest of the mozzarella. 

Bake on 400 for 10 min and then broil 2-3 min until the cheese is bubbly. 

IT’S THAT EASY. Also please don’t serve this with tortilla chips…they break too easy and nobody wants that. 

Print

THE BEST Spinach & Artichoke Dip

Course Side Dish
Cuisine American
Keyword artichoke, easy, spinach dip, the best
Prep Time 15 minutes
Cook Time 30 minutes
Servings 6

Ingredients

  • 8 oz cream cheese
  • 1 clove garlic minced
  • ½ cup sour cream
  • 3 cups artichoke hearts chopped
  • 3 cups fresh spinach chopped
  • ½ cup parmesan grated
  • 1 cup mozzarella grated
  • ½ tsp red pepper flakes

Instructions

  • Preheat oven to 400°
  • In a pot over medium heat, melt the cream cheese until soft
  • Add the garlic and cook for 1 minute
  • Add in the sour cream and mix thoroughly
  • Add the spinach and artichoke hearts. Mix thoroughly.
  • Add parmesan, red pepper flakes, and half of the mozzarella
  • Salt to taste
  • Pour mixture in an oven safe pan and top with the rest of the mozzarella.
  • Bake in a 400° oven for 10 minutes
  • Broil until top is brown. About 2-3 minutes
  • Serve immediately with pita chips