Summertime Mango and Jalapeño Salsa

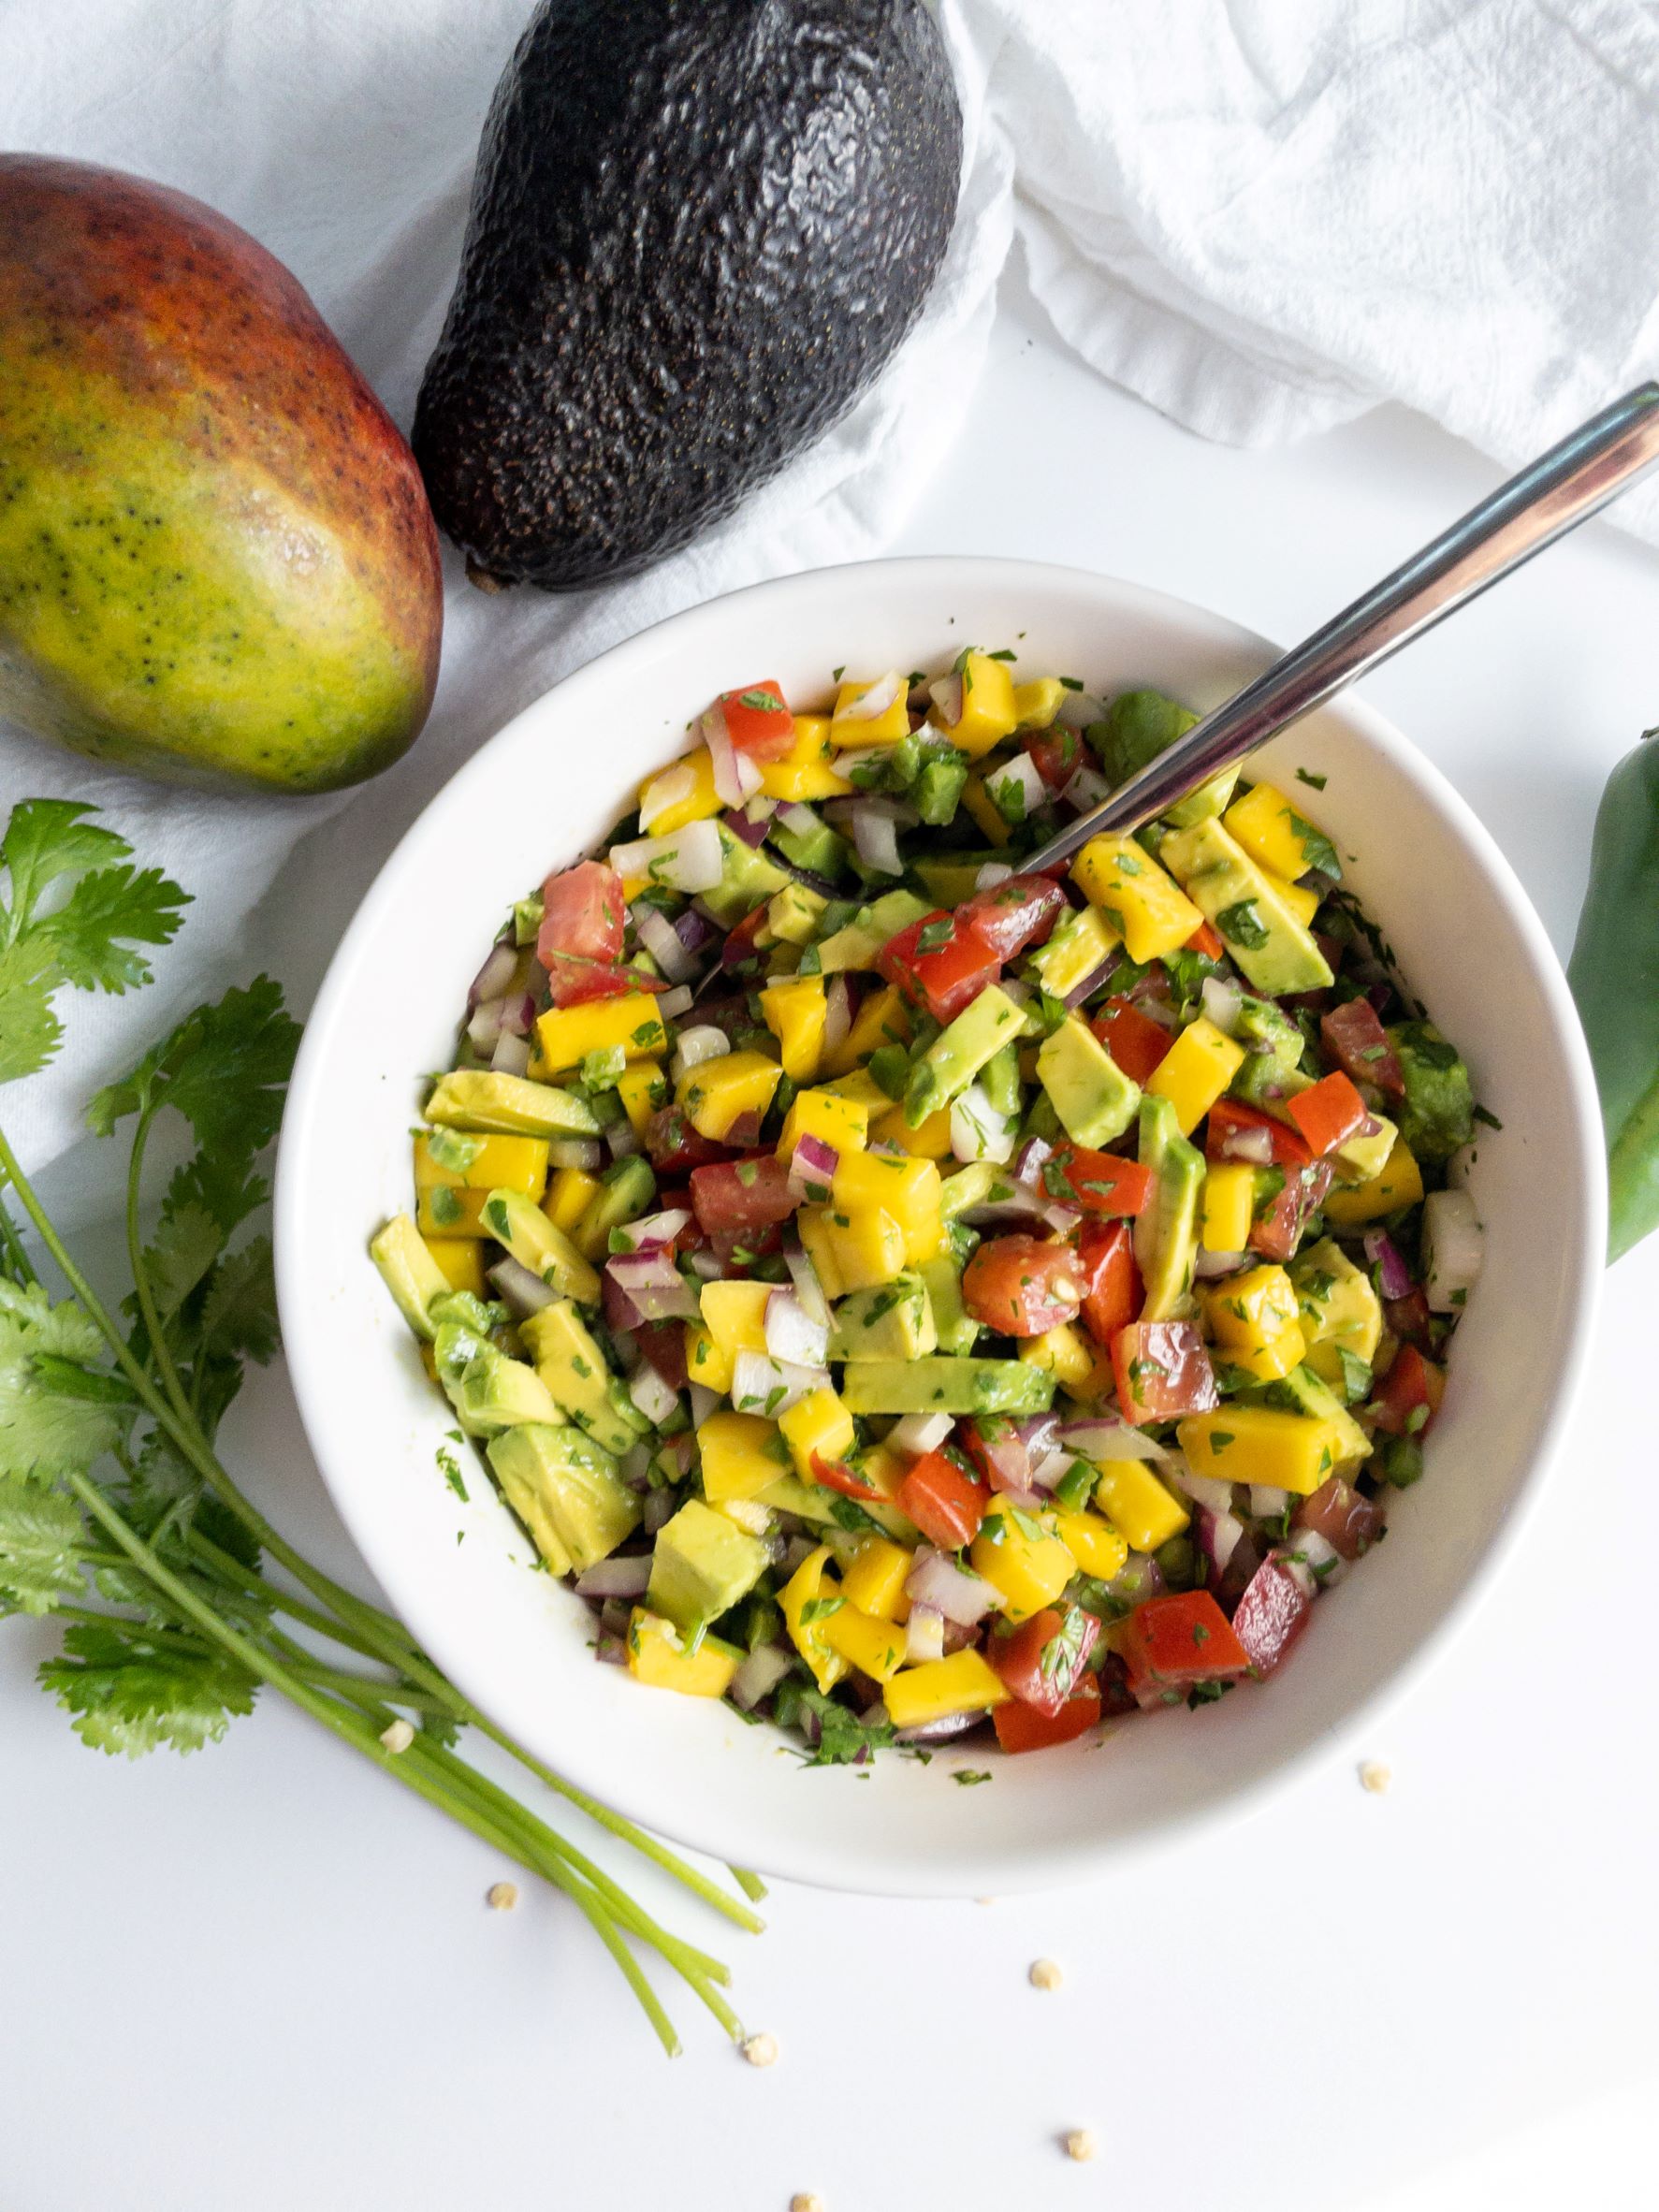
Mangos… ahh the most delicious fruit. I remember when I first tried mangos I told my mom she would never have to buy me Christmas presents again because I just wanted mangos (true story). I seem to be able to eat endless amounts of this elite fruit. When I went to Thailand I ate pretty much nothing but mangoes for two weeks straight because they were SO good. I was a little spoiled by those mangoes, so I have to wait for them to be PERFECT to eat them here in UT… August is the month for mangoes, my friends, and I am LOVING it. This mango salsa is the best way to get mangoes on your dinner plate.

This is the epitome of summer right here. This salsa has everything you could want in it. A lil’ sweet, a lil’ tangy, a lil’ spicy. Great on chips, fish, grilled chicken, or you could just eat it with a spoon. This salsa will add a little bit of paradise to anything you put it on.

Jump to Recipe

Some Notes:

No tricks for this one other than making sure your ingredients are fresh and ripe. TIP: You can tell if a mango is ripe if it is just a lil’ bit soft when you squeeze it (think like peaches or avocados).

You will want to take the seeds out of your tomatoes. This will help prevent your salsa from becoming too watery. To do this, cut the tomatoes in half and scoop out all the seeds and goop.

To be SPICY or not to be SPICY

If you want your salsa to have a lil’ bit more kick you can add another jalapeno. If you are going for more mild salsa, cut the white spongy stuff off of the jalapeno and make sure there are no seeds (that’s where all the heat is). Then you can have the flavor of jalapeno without all the face melting. TIP: wash your hands very well after cutting jalapenos and whatever you do, DO NOT TOUCH YOUR EYES! …I learned that lesson the hard way, and it’s not pretty.

How to make Mango Salsa

Dice all your ingredients up, put them in a bowl with salt and lime juice, and YOU ARE DONE. Super easy and seriously delicious.

Pro tip: This mango salsa goes GREAT with my carnitas.

Storing: Store in an airtight container and refrigerate for up to 5 days.

ENJOY!

Print

Mango Salsa

Course Side Dish
Keyword easy, jalapeno, mango, salsa
Prep Time 15 minutes

Ingredients

  • 1 Mango Diced
  • 1 Avodaco Diced
  • ½ Red onion Diced
  • 2 Tomatoes Diced
  • 1 Jalapeño Diced
  • 1 Cilantro bunch Chopped
  • 1 Lime
  • Salt

Instructions

  • Dice the mango, avocado, onion, jalapeno, and tomatoes and put in a medium sized mixing bowl
  • Stir and add cilantro, lime and salt.
  • Stir and taste. Add more salt if needed.
  • Enjoy!

Ridiculously Easy Lemon Dill Salmon

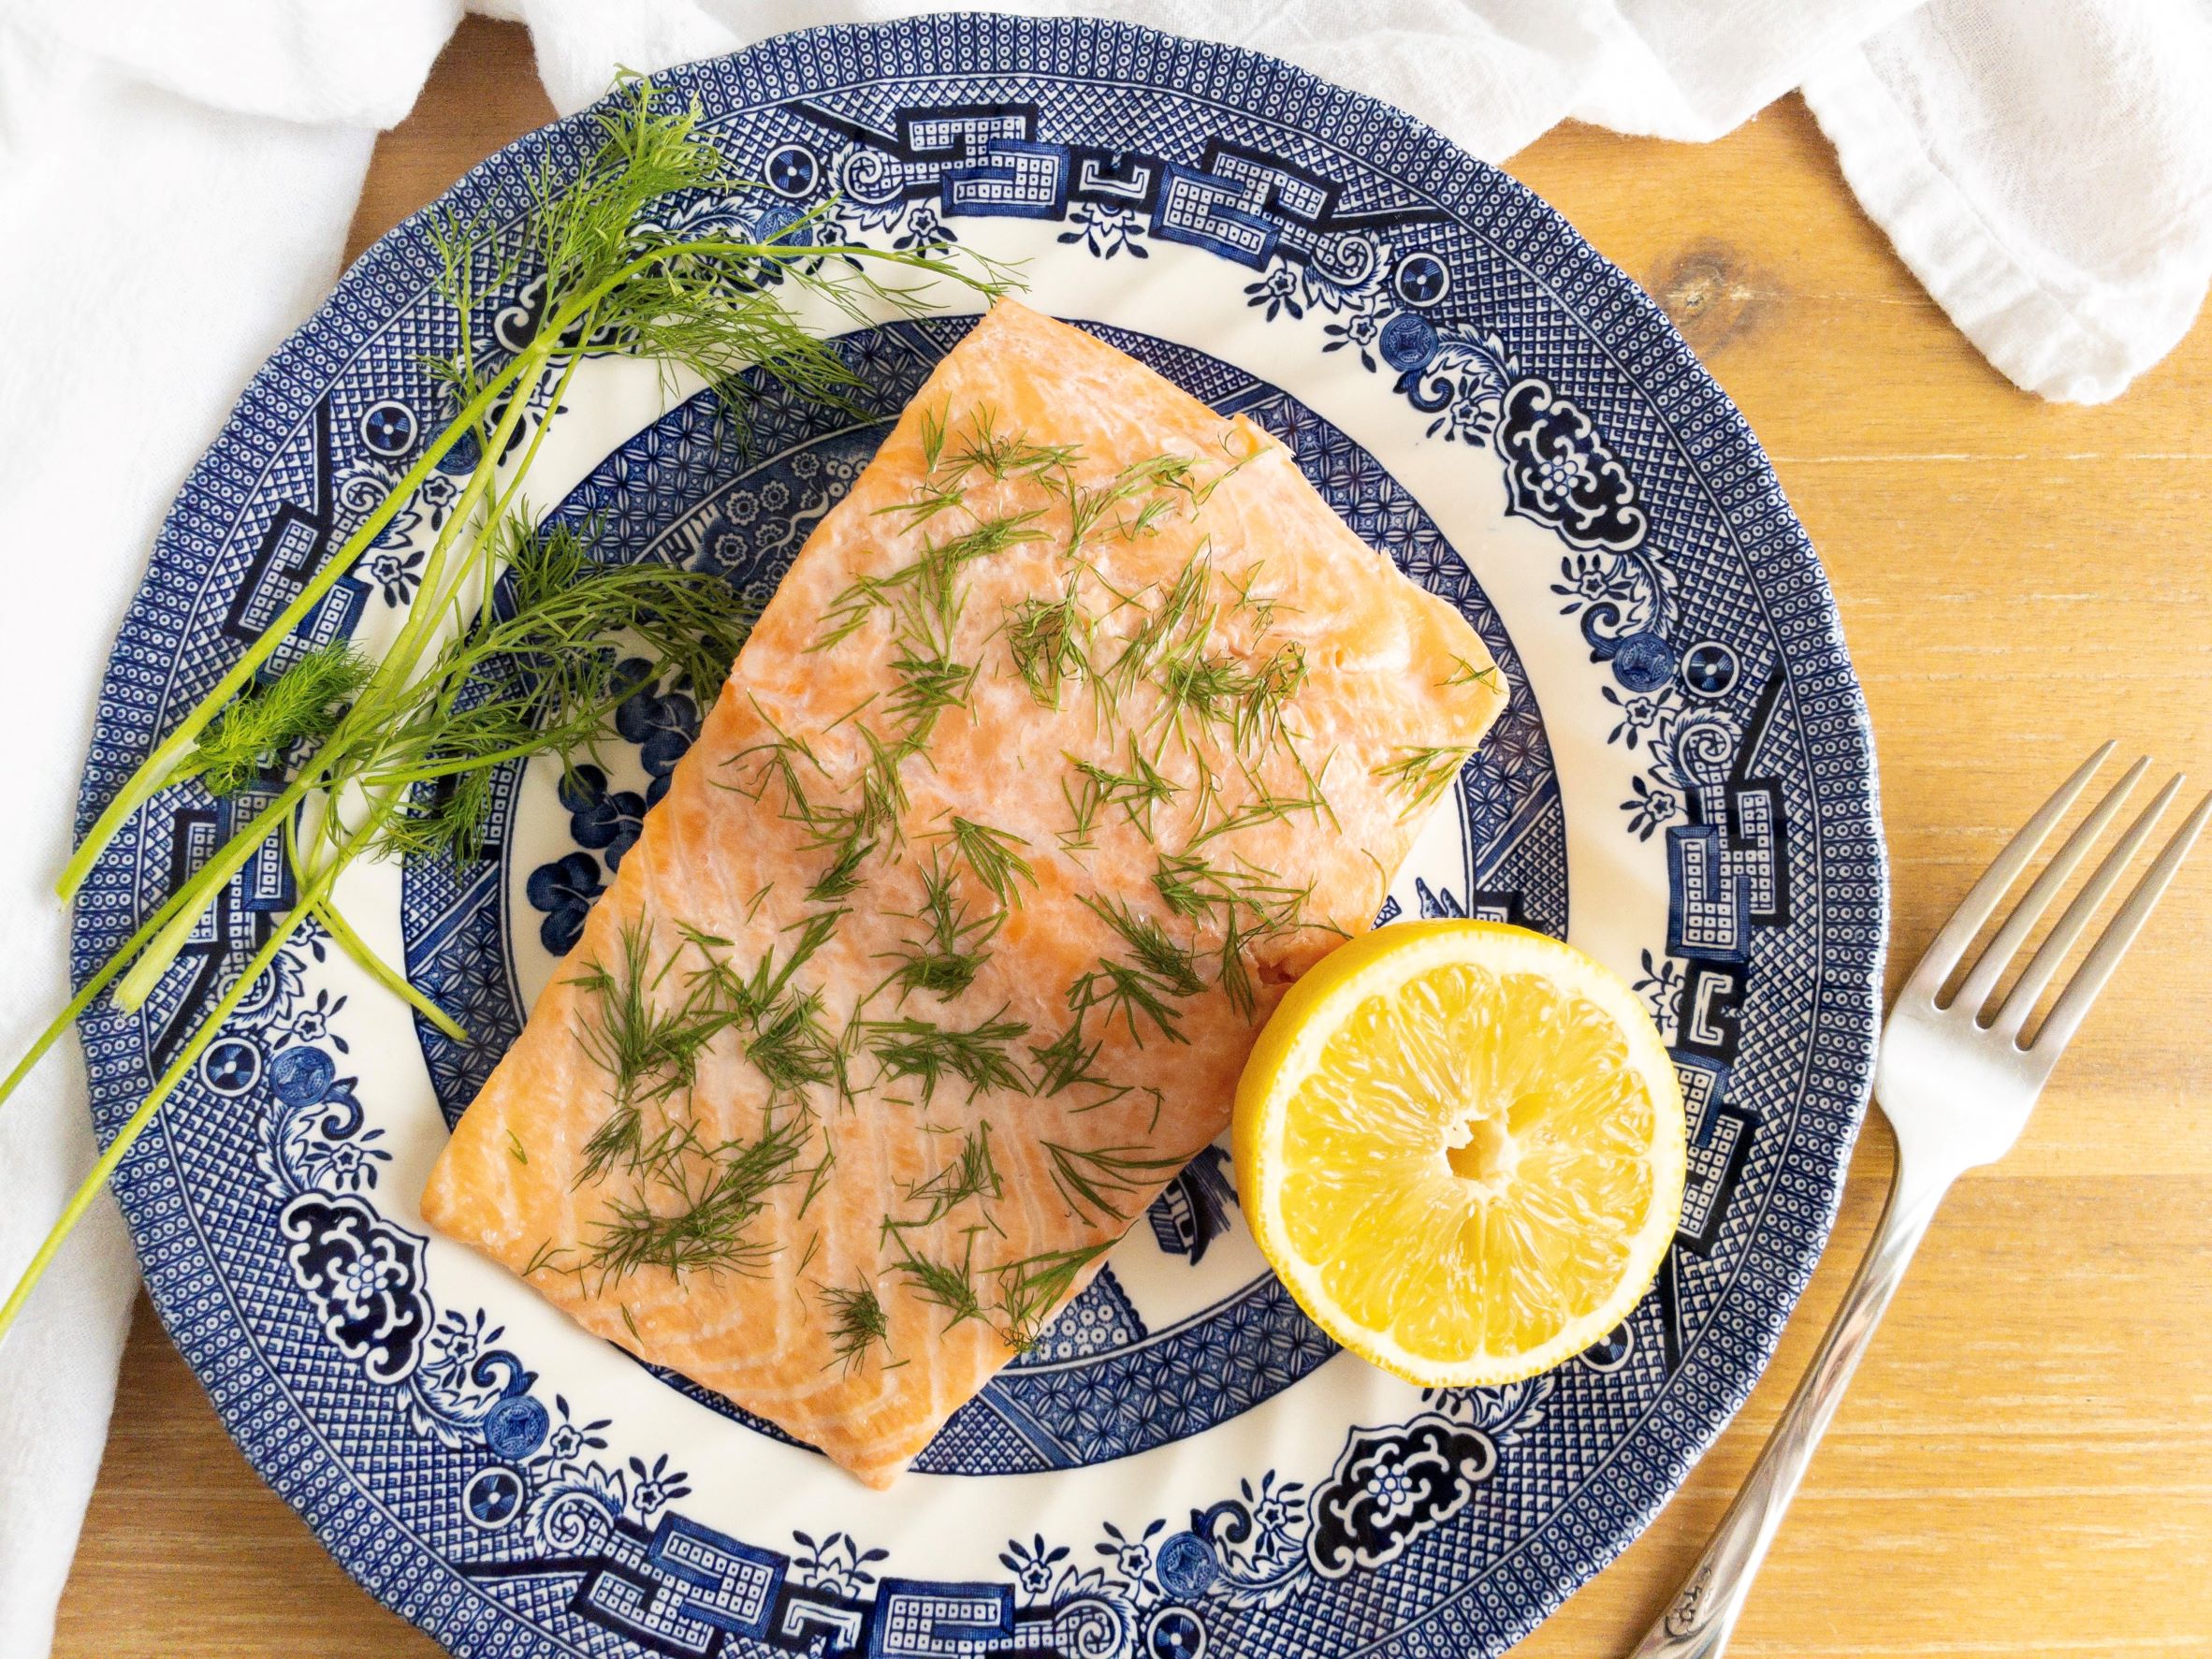
I would argue that some of the best food I’ve ever eaten has less than 4 ingredients in it. This salmon 100% falls in that category. Oven salmon is easy to make, creates a minimal amount of dirty dishes, and just melts in your mouth (can I get an amen). You get the perfect amount of zing from the lemon, and the herby dill just brings this dish to happy land. Just in case that wasn’t enough to convince you this is the best dish ever, it’s ready in under 30 minutes… Yes you read that right, less than 30 minutes. Is your mind blown yet? 

Jump to Recipe


When it comes to cooking a fish I opt for the less is more approach. Fish is pretty delicate and anything too heavy or strong can weigh it down. Fish done right is amazing. Fish done wrong might as well be cat food. The problem people usually have with fish is overcooking. Overcooked fish is rubbery, sticky, and in my opinion, has a fishier taste. Beautifully cooked fish melts in your mouth and has a light, fresh flavor. DO NOT RUIN YOUR SALMON BY OVERCOOKING IT. I have cooked salmon in the oven time and time again. Here is my FOOLPROOF recipe for the most delicious fish you will ever eat. 

Some Notes:

Salmon:

ONLY get enough salmon to feed everyone. While you can reheat salmon it’s not recommended… Why would you let your microwave wreak havoc on your beautiful cut of fish? Salmon is best when it is fresh. I usually get skin on, but whatever floats your boat when it comes to picking your cut of salmon. TIP: The skin comes off very easy after being cooked. I prefer this method to cutting it off myself. If you do somehow end up with leftover salmon, it can be flaked and put on a salad (seriously so good).

Dill:

While I recommend using fresh dill, you can use dried if fresh is not available.

How to make oven salmon

Measurements for this salmon are a little bit difficult to quantify so I have taken pictures of each stage so you can see what to do. Ready?

Step 1:

Prep your salmon. Run your fingers down the center of the cut and feel for any leftover bones (definitely don’t want to eat those)

Step 2:

Dry the fish. I just pat it down with a paper towel. This helps get rid of some of the fishiness.

Step 3:

Lemon juice. For this size of salmon I used half a lemon squeezed over top. If you use a bigger cut you will want to use the whole lemon.

Step 4:

Salt. FISH IS DELICATE. While you do need to salt it, don’t go crazy.

Step 5:

Dill. Give it a good coating of dill like so:

Step 6:

Cook at 325 degrees Fahrenheit for about 12-15 minutes depending on how firm you like your salmon. NOTE: IF you are using a larger cut you may need to cook for closer to 20 min.

Step 7:

Optional, but I squeeze more lemon on top.


Was that simple enough? Seriously delicious salmon in under 30 min.

Print

Easy Lemon Dill Salmon

Course Main Course
Keyword dinner, easy, gluten free, healthy
Servings 2

Ingredients

  • 12 oz Salmon
  • 1 Lemon
  • 1 bunch Dill
  • ¼ tsp Salt

Instructions

  • Preheat oven to 325 degrees Fahrenheit.
  • Check salmon for bones.
  • Salt evenly.
  • Squeeze lemon on top.
  • Spread dill evenly.
  • Bake for 12-15 minutes for small cuts or 15-20 minutes for larger cuts.


Creamy Cajun Shrimp Pasta

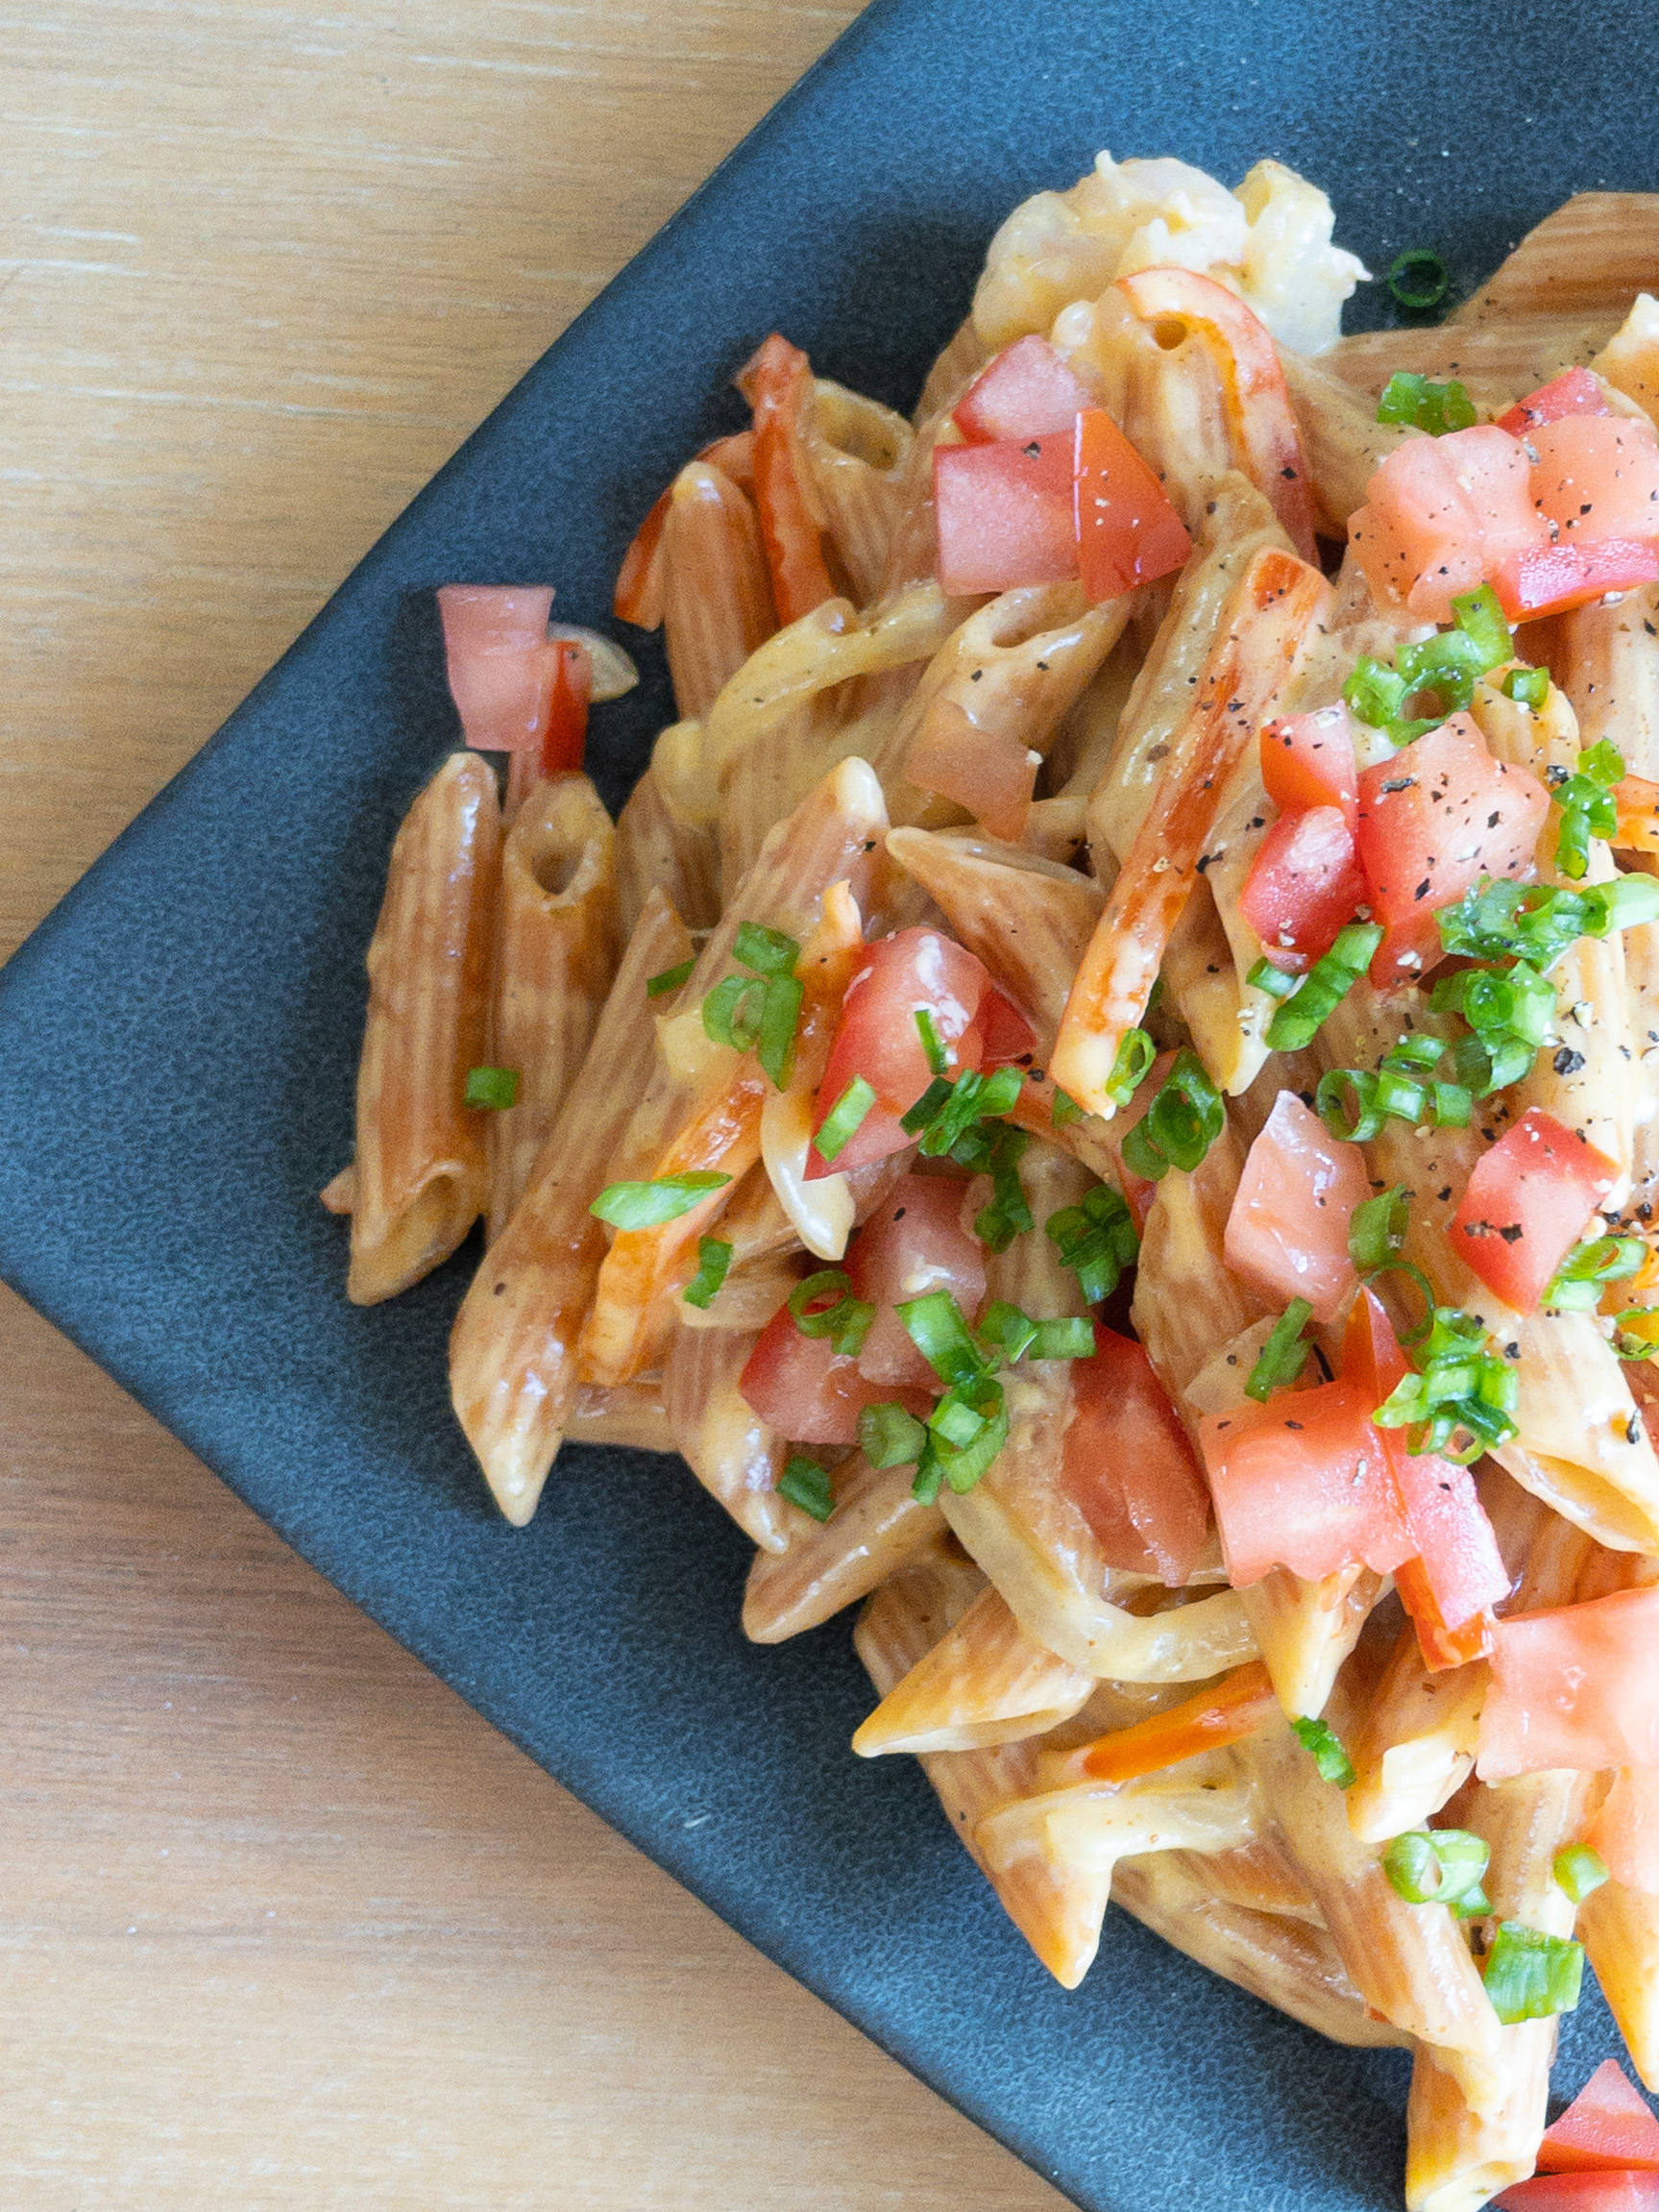
Is there anything better than pasta? The answer to that is no. When I think of the world’s best pasta I always think of THIS Cajun shrimp pasta. It’s the perfect balance of creamy, smoky, and spicy that keeps you coming back for more. It is bursting at the seams with flavor! This is also super easy to make for meal prep for the whole week! If that’s not a win-win I don’t know what is.

I mean just look at this… Doesn’t it just make you say give me a fork?

Jump to Recipe

This pasta is seriously so simple to make AND it is ready in less than 45 min. We all know that’s a major weeknight win.

Some notes: 

Pasta: This Cajun sauce works great on any pasta! Fettuccine, penne, or just whatever is lurking in the back of your pantry (I’m looking at you elbow pasta). This would even be great on zoodles. TIP: I use red lentil pasta for mine. 

Cajun seasoning: The Cajun seasoning is really the star of the show here. Pick one you like! Some are more spicy than others. I use a blend with no salt in it. If you pick a salted blend I recommend using half the amount of seasoning and adding more at the end if needed. Don’t want over salted food here.

Protein: You can substitute shrimp for really any protein you would like. You could use sausage or even grilled chicken in this pasta. I am a seafood fanatic so I use shrimp. TIP: Use raw shrimp rather than precooked. I think they have a better flavor and texture. Plus, then they don’t overcook in the pasta.

Garnish: Top it all off with some diced tomatoes, green onions, and black pepper. They add the perfect amount of freshness to the dish. 

How to make Cajun Shrimp Pasta

PREP:

Prep is extremely important. I believe that half the battle of cooking well is having ingredients prepped.

-Mince 1 clove of garlic.

-Slice 1 onion and 1 red bell pepper into THIN slices.

-Measure out flour.

-Dice 1 tomato.

-Thinly slice green onions.

TIP: Have all ingredients close to your cooking area.

Put your water on to boil for your pasta! Make sure to salt the water (a lot more than you think) so your pasta isn’t bland. 

Instructions:

You will want to pick a pot/deep pan that is large enough to hold all of your cooked pasta.

Over medium-low melt the butter and add garlic and Cajun seasoning.

Cook until fragrant (about 1 minute). The reason we do this is so the butter can absorb the flavor from the seasonings and carry it throughout the dish.

Turn heat up to medium and add in the peppers and onions.

Saute the veggies for about 7 min. We are going for fork tender peppers and slightly caramelized onions.

Once the veggies are done, add the flour and mix until it forms a paste. Let it cook for about a minute to get rid of the raw flour taste.

Add the chicken stock 1/2 a cup at a time. It is very important that you mix really good here so you don’t end up with lumpy sauce… that’s no good. TIP: I find that turning the heat down a little bit for this step helps me get lumps out.

Add the cream all at once and mix until smooth. 

Add cooked pasta.

TIP: If my sauce is a little thick I’ll add some pasta water. Stir until the pasta is completely coated. 

Add shrimp and cook while stirring occasionally until they are pink and no longer translucent, about 3-5 min.

Salt and pepper as needed. TIP: I usually add a splash of Tabasco to add some spice, but this is completely optional.

Garnish with tomatoes, green onions, and Old Bay seasoning.

ENJOY!

Print

Creamy Cajun Shrimp Pasta

Course Main Course
Keyword dinner, easy, pasta
Prep Time 10 minutes
Cook Time 35 minutes
Servings 6 People

Ingredients

For the pasta

  • 2 tbsp butter
  • 1 clove garlic
  • 3 tbsp Cajun seasoning
  • 1 onion thinly sliced
  • 1 bell pepper thinly sliced
  • 2 tbsp flour all purpose
  • 1 cup chicken stock
  • 1 cup heavy cream
  • salt and pepper to taste
  • Tobasco optional
  • 6 cups pasta cooked
  • 1/2 pound shrimp raw and peeled

Garnish

  • 1 tomato diced
  • 1/2 cup green onions thinly sliced

Instructions

  • PUT WATER ON TO BOIL FOR YOUR PASTA THEN START SAUCE

For the Sauce:

  • In a heavy bottomed pot over medium heat, melt 3 tablespoons of butter add garlic and Cajun seasoning.
  • Cook until aromatic (about 45 seconds)
  • Add in peppers and onions and cook until onions are caramelized and peppers are fork tender (about 7 min)
  • Add flour and mix until incorporated
  • Cook for about 1 min
  • Add chicken stock ¼ a cup at a time mixing until smooth in between
  • Add cream all at once and mix until smooth
  • Turn heat to medium low and add cooked pasta and stir until noodles are evenly coated
  • Add shrimp and cook until they are all pink and no longer translucent (about 3-4 minutes)
  • Garnish with tomato and green onions
  • ENJOY!

The Best Bread Pudding

Raise your hand if you love dessert! Great! If your hand isn’t up we are no longer friends… seriously. Okay, now raise your hand if you love easy desserts! If that’s you, you are in the right spot. Bread pudding is about as effortless as it gets for dessert and it is SO good. 

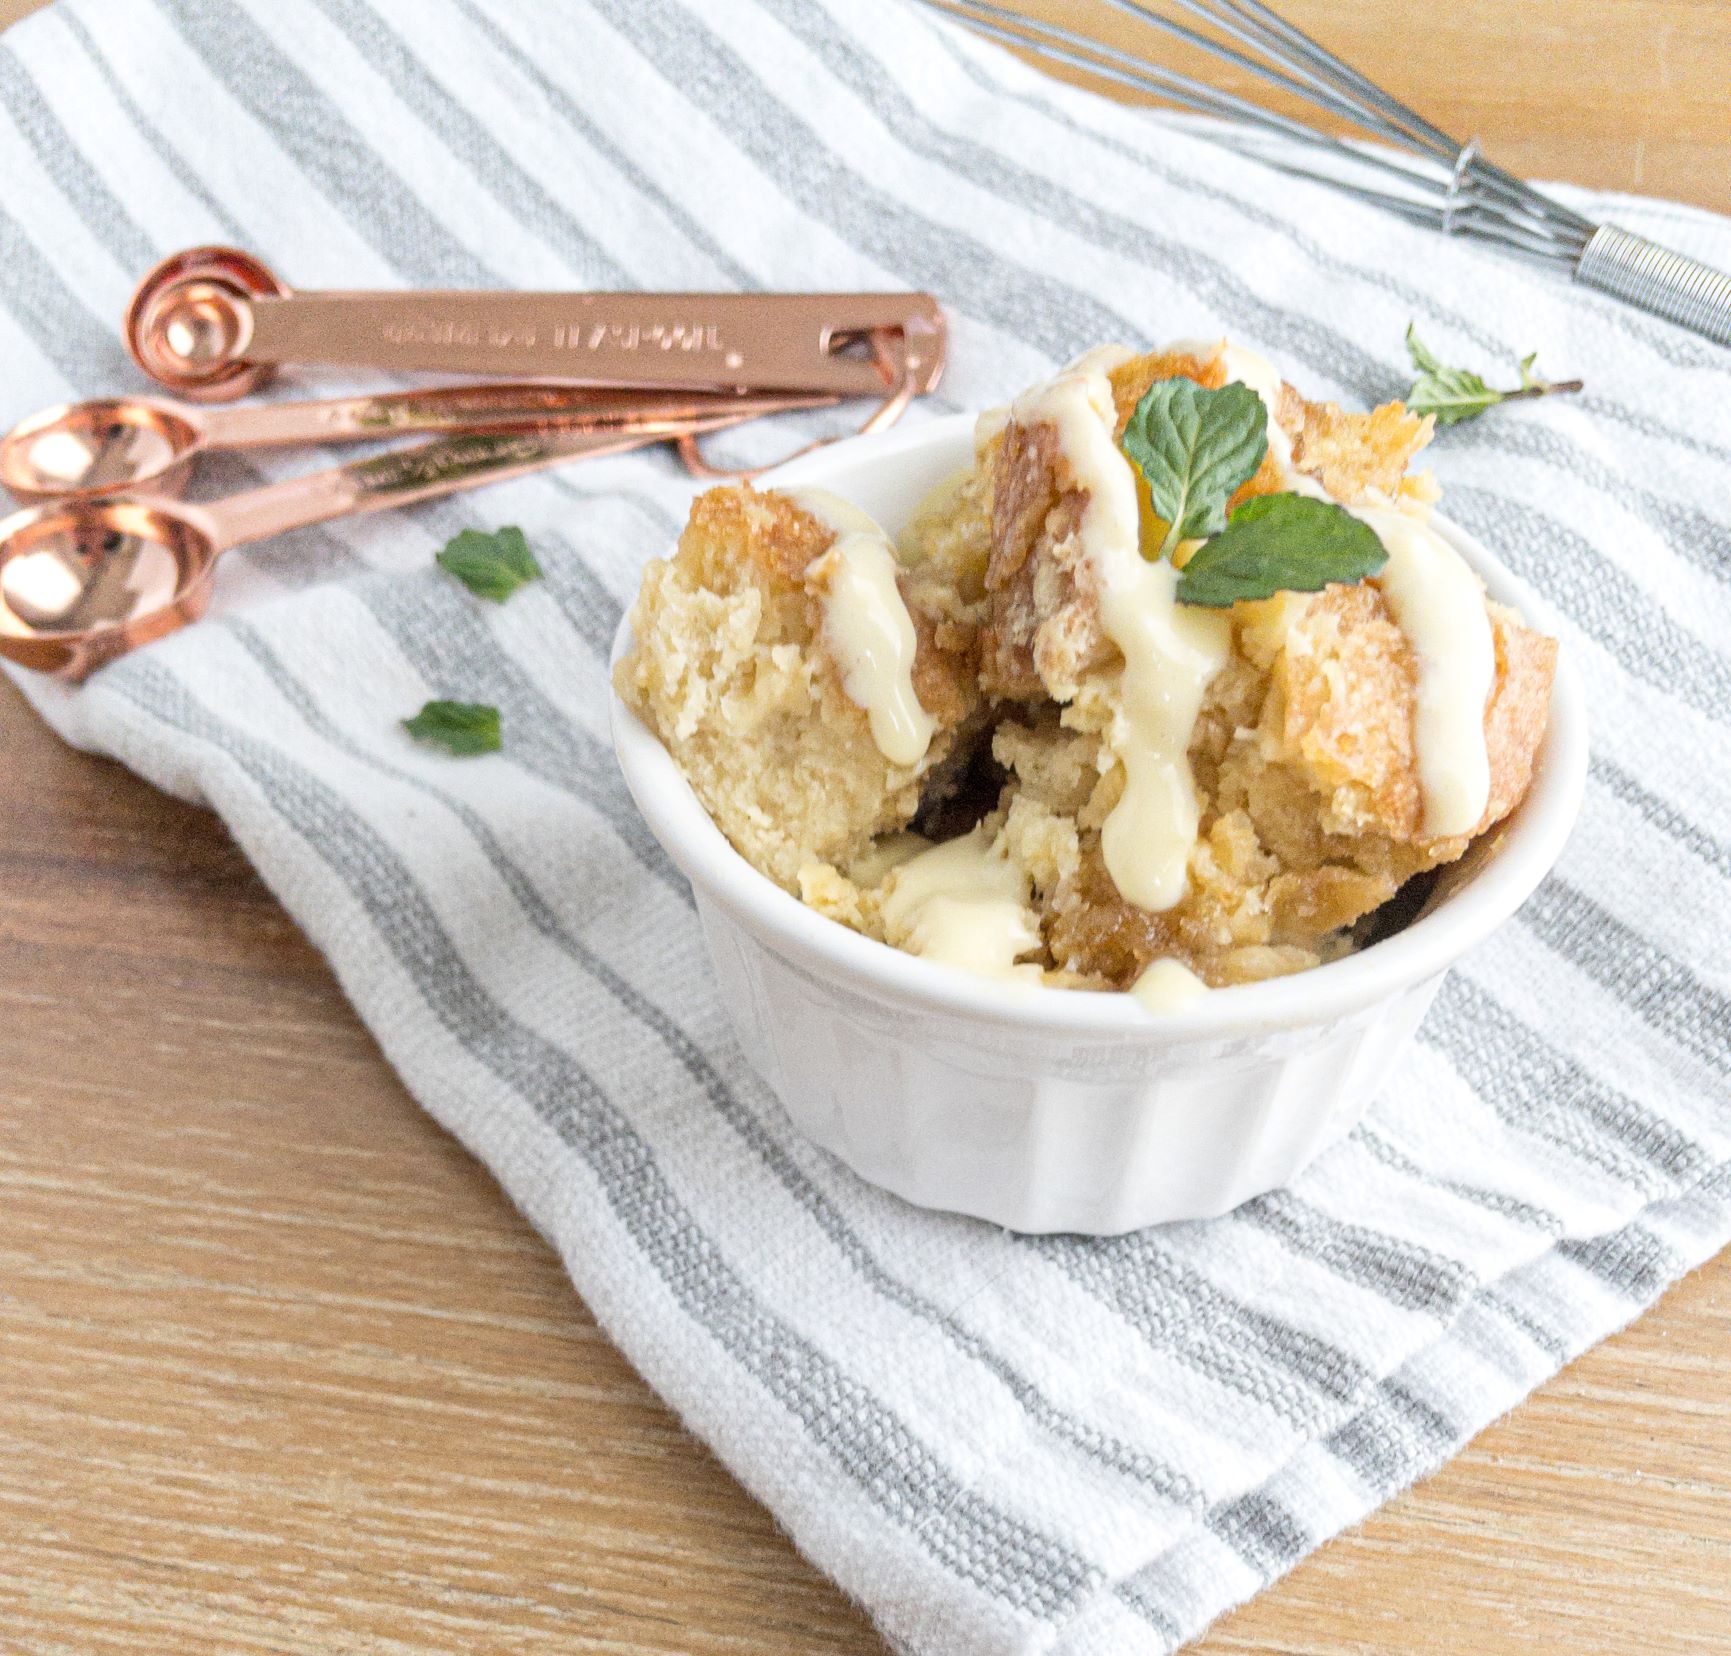
I have been making bread pudding for years. I have tried so many different things to get the perfect results and let me tell ya, I found it. This bread pudding is gooey and sweet and just melts in your mouth. I like to top it with vanilla ice cream or my limoncello custard sauce

Got some bread that has seen better days? Bread pudding. Need and easy way to satisfy your sweet cravings? Bread pudding. 

The other great thing about bread pudding is you can customize it. Chocolate, fruit, nuts, cinnamon, caramel, jam… did I say chocolate already..? It all works! 

Jump to Recipe

Some notes: 

Bread: 

You can seriously use whatever you want! One time my dad made raspberry bread pudding out of hamburger buns… weird, I know, but it worked! While you can use whatever you want, I usually use ciabatta for bread pudding because I like the chewy crust. You will need about 1 loaf of bread or 10 cups.

You need to soak your bread in the custard before baking so you get that delicious gooey texture in the middle. Soak it for at least 30-60 minutes.

Dress it up:

After soaking your bread it’s time to add your extras if you want. Fruit, chocolate, nuts, cinnamon, etc. Get creative!  

Baking:

Put your delicious bread pudding and all that delicious custard in a 9″x13″ pan and bake until a toothpick comes out clean. 

Top it off:

While it isn’t necessary to put a topping on your bread pudding, it is advised for ultimate deliciousness. You can do heavy cream, caramel, OR my Luscious Limoncello Custard Sauce!

If you somehow manage to have leftovers, it makes a great breakfast!

Print

The Best Bread Pudding

Course Breakfast, Dessert
Prep Time 15 minutes
Cook Time 50 minutes
Refrigerate 1 hour
Total Time 2 hours 5 minutes
Servings 8 servings

Ingredients

  • 1 loaf bread
  • 2 cups heavy cream
  • 1/2 cup brown sugar
  • 4 egg yolks
  • 2 eggs
  • 2 tbsp butter
  • 1/2 tsp salt
  • 3 tbsp brown sugar

Instructions

  • In a large bowl, mix cream, sugar, egg yolks, eggs, and salt.
  • Cut bread into 1 inch cubes and put in a bowl.
  • Soak for 3o min -1 hour.
  • Preheat oven to 375 degrees Fahrenheit.
  • Put bread mixture into 9"x13" pan.
  • Slice butter in to small cubes and put on top. Sprinkle the remaining 3 tablespoons of sugar on top.
  • Bake for about 50 min or until a toothpick comes out clean.

Check out what’s new!

Luscious Limoncello Custard Sauce

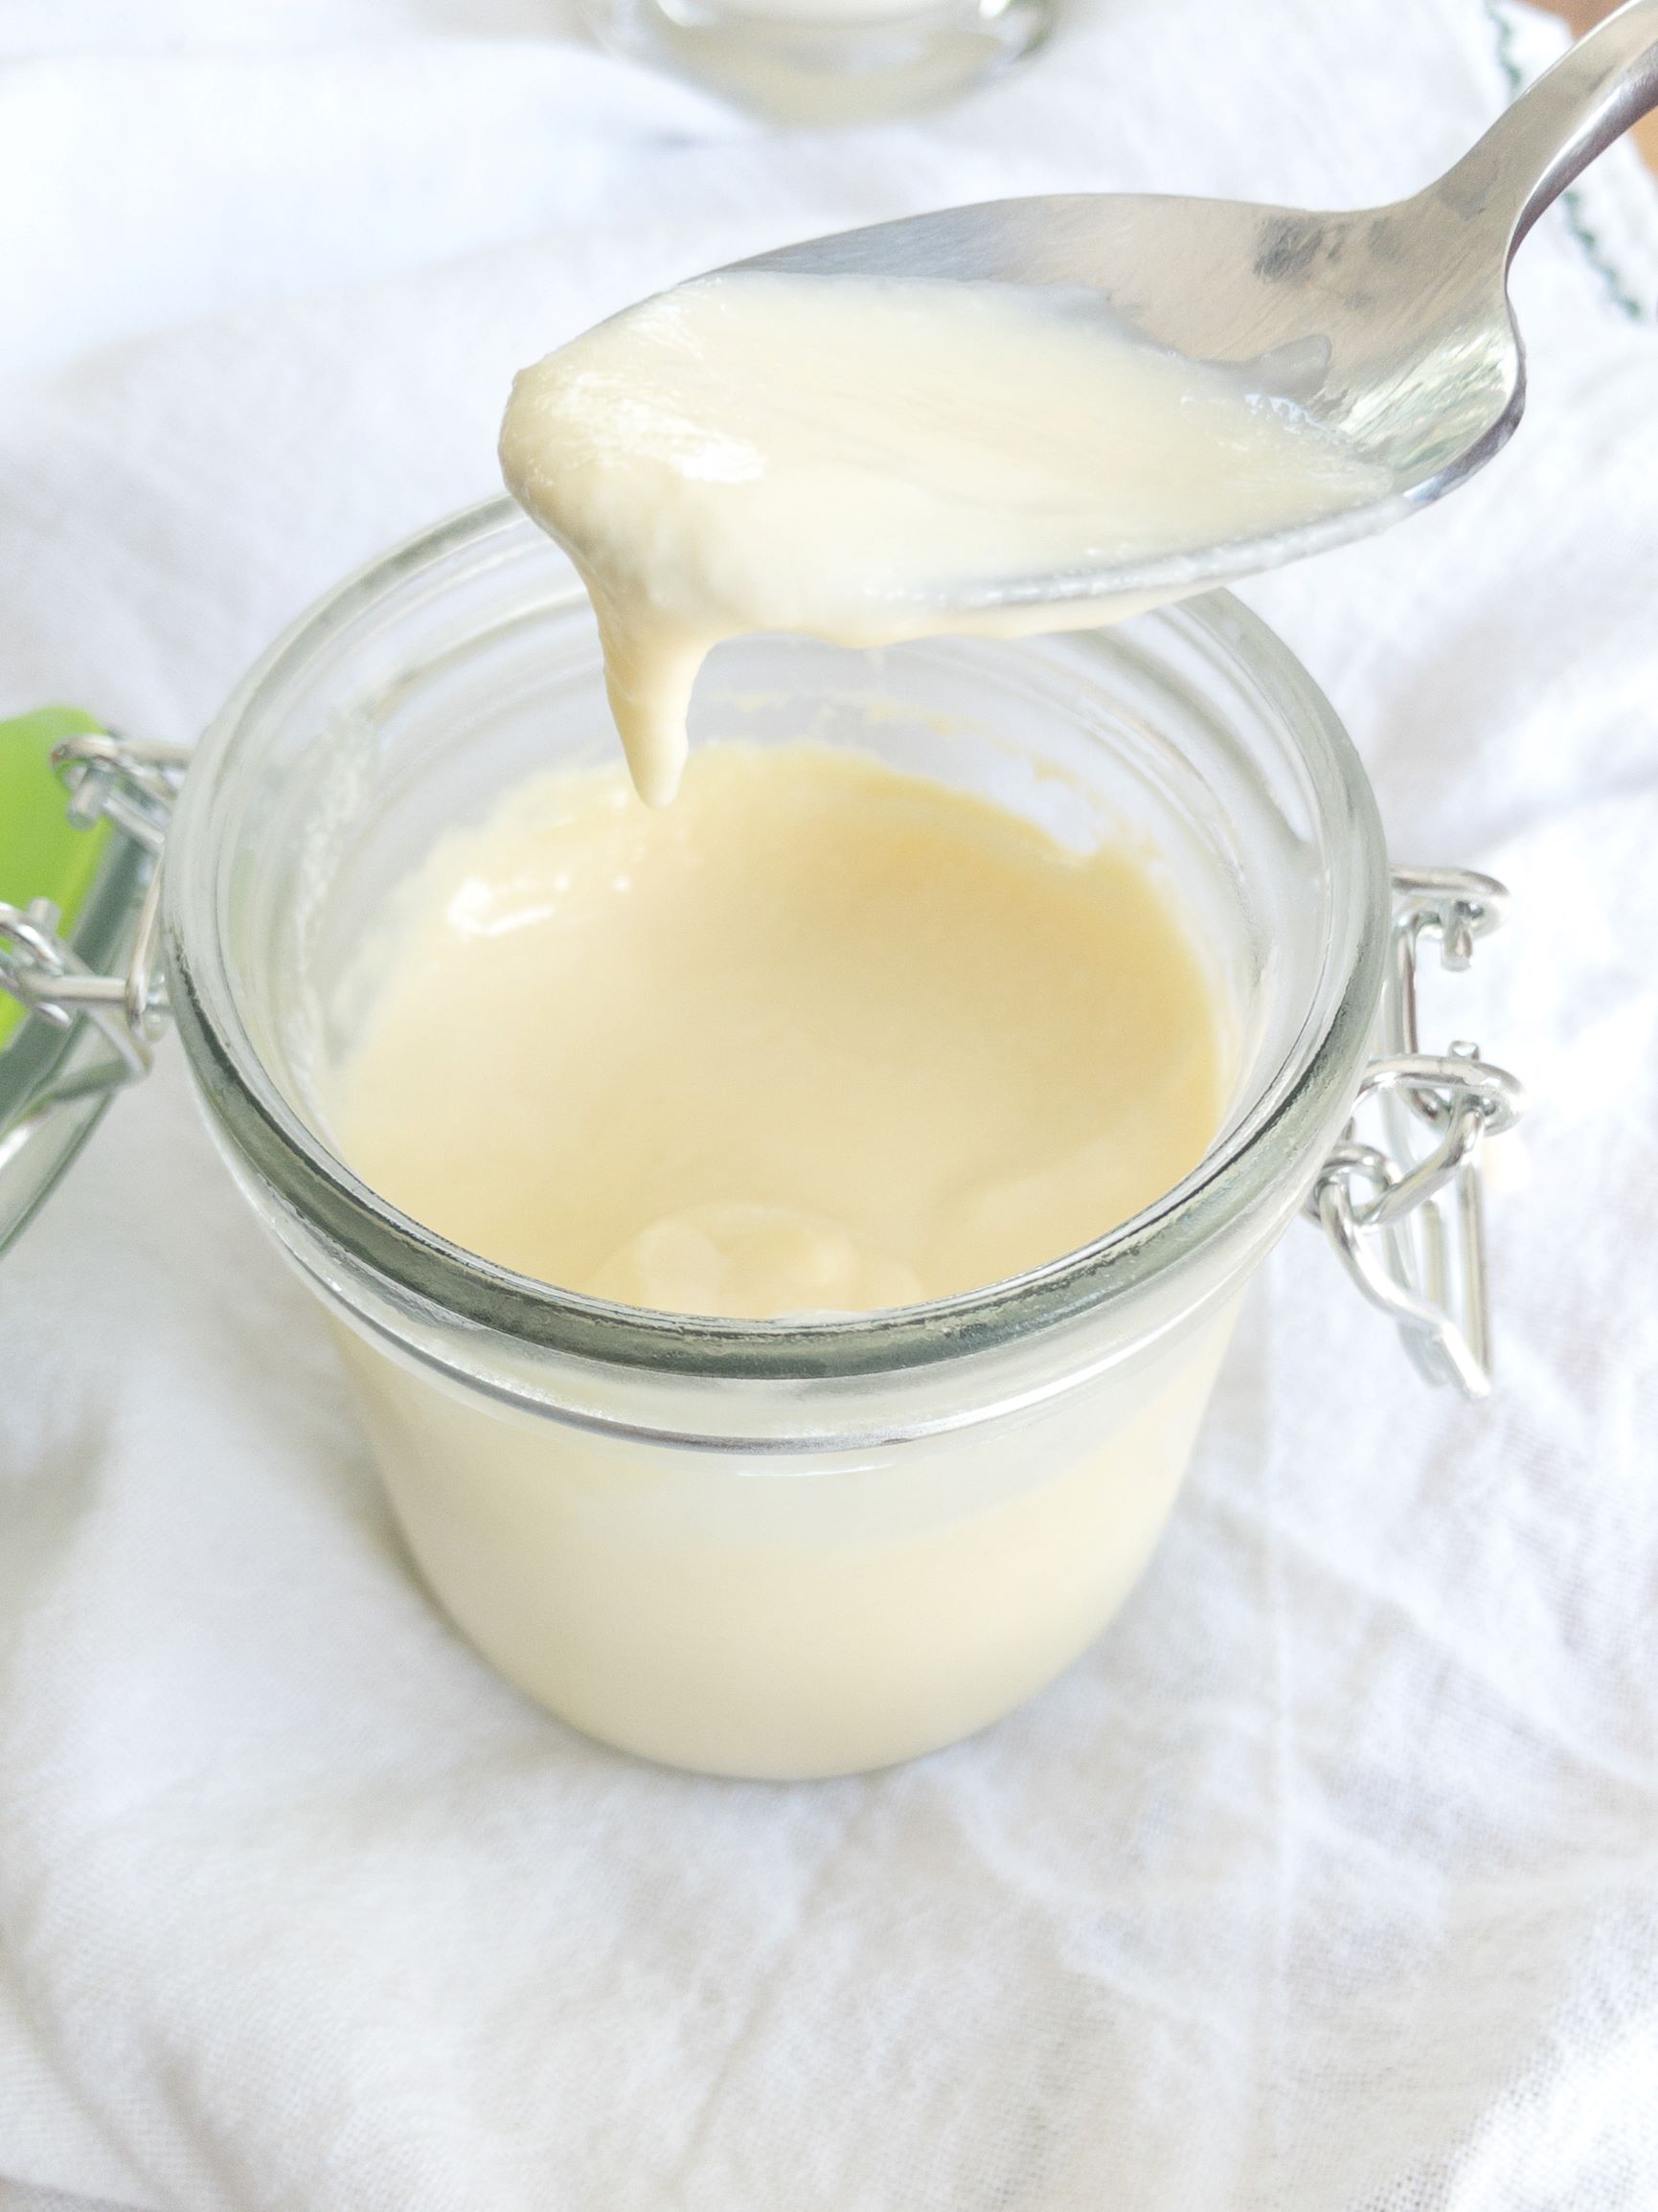
Have you ever wondered what your desserts are missing? I’m here to let you in on a secret… it’s custard sauce! Pretty sure the pot of gold at the end of the rainbow is actually filled with this… but really, this custard sauce is seriously amazing. It’s great on berries, desserts, or just eat it with a spoon (no shame). The best part? It’s super simple to make.

Jump to Recipe

This sauce is a great way to show off your snazzy kitchen skills while only putting in a small amount of effort. That’s a win win in my book. If you really want to sound fancy you can call it crème anglaise, but if you aren’t great at remembering French vocab like me you can just call it custard sauce.

Some notes: 

Base:

To make the base, heat up milk and cream in a medium sized pot. I like to add Limoncello to my sauce to make it light and add some pizazz. If you want vanilla custard just cut the Limoncello and add 1 teaspoon of vanilla instead. You need to cook your custard base (milk, cream, limoncello) long enough that all the alcohol cooks out (unless you want fun custard sauce but that’s up to you). You will want to stir your base while it is heating up. 

Eggs:

In a separate bowl (preferably with some grip on the bottom), you need to whisk the egg yolks and sugar. I like to use an immersion blender with a whisk attachment for this part. Whisk the egg yolks until they are pale yellow. 

Temper:

I am a lover of scrambled eggs but they are not fantastic in custard dessert sauce… The secret to this sauce is whisk whisk whisk. I like to use an immersion blender with a whisk attachment or you can do it the old fashioned way. If you opt for the old fashioned way I recommend having a partner handy to swap off with you because about 2-3 minutes into vigorously whisking this you will feel…the…burn….and you can’t stop (learnt from personal experience).

To temper the sauce I use a ¼ measuring cup and add the base ¼ a cup at a time into the eggs while continuously whisking. After I have added about half the base, I can slowly add the rest of it from the pot directly into the eggs while continuously whisking. 

Final cooking:

After tempering the eggs in I put the custard mixture back into my pot on low heat and heat until you can run a finger down the back of your spoon and it stays clean. (Picture below)

Refrigerate: Now that you have made your sauce you will have to exercise some self restraint because it needs to refrigerate for about 2 hours to set up… then you can eat it. In the meantime, you can make my bread pudding.

Enjoy! 

Luscious Limoncello Custard Sauce
Print

Limoncello Custard Sauce

Delicious Custard Sauce for Desserts
Course Dessert
Keyword Creme Anglaise, Dessert, easy
Prep Time 10 minutes
Cook Time 20 minutes
Refrigerate 2 hours
Total Time 2 hours 30 minutes
Servings 6

Ingredients

  • 1 cup milk whole
  • 3/4 cup heavy cream
  • 4 tbsp limoncello
  • 4 egg yolks
  • 1/4 cup sugar granulated

Instructions

  • Whisk eggs and sugar in bowl until pale yellow and ribbons
  • In a medium sized pot, heat milk, cream, and limoncello on medium low heat until it steams
  • Add the cream mixture to your egg mixture 1/4 a cup at a time while continuously whisking.
  • Put the mixture back in the pot and cook on low heat while stirring until you can run a finger down the back of spoon and it stays clean.
  • Refrigerate custard for 2 hours

The Best Potato and Leek Soup

Easy Potato and Leek Soup

Lets be honest.. leeks are an odd vegetable. While they may seem intimidating, I promise they will quickly become one of your favorite vegetables. This soup is great year round. It’s light, flavorful, and really simple to make!

Jump to Recipe

Some notes: 

Lets talk about leeks: Some of you may be thinking what in the world is a leek? A leek is a cousin to garlic, onions, shallots, etc. They are in season in the spring. When preparing leeks you need to take a couple of extra steps.

The part of the leek you want to use is the light green-white section. Chop off the dark green top and the bottom. When these lovely green things grow they get sand and dirt stuck in their leaves. The easiest way I know of to clean leeks is to slice them, put them in a bowl of water, and stir them around for a bit. Then I scoop them off the top with a slotted spoon.

Don’t worry these guys are worth the extra work. 

Potatoes: Really you can use whatever potato you like in this soup. I do recommend picking a waxy potato (red or yukon gold) because they tend to hold their shape better and not get mushy in the soup. 

Blend or not to blend? This soup is great either way! I usually blend it about half way so it’s thick but still has texture. 

Bacon: You can omit the bacon and use vegetable stock to make this recipe vegetarian! Add a little paprika to get that smokiness. 

GLUTEN FREE: Enough said there… that’s just a win.

Toppings: We all know soup is better with toppings. Top with toasted pumpkin seeds, or you can make croutons by tossing bread in a pan with butter until crisp.

NOW THE MOMENT YOU HAVE BEEN SCROLLING FOR BRING ON THE LEEKS   

Print

Potato and Leek Soup

Easy potato and leek soup
Course Soup
Keyword dinner, easy, gluten free, healthy
Prep Time 10 minutes
Cook Time 45 minutes
Servings 4 People

Ingredients

  • 4 strips bacon
  • 1 tbsp butter
  • 3 leeks sliced
  • 5 red potatoes diced
  • 1 clove garlic minced
  • 2 1/2 cups chicken stock
  • 1 bay leaf
  • 1 tsp thyme fresh
  • salt and pepper

Instructions

  • Cook bacon in medium sized pot until crisp
  • Add butter, leeks, potatoes, and garlic. Cook until until leeks are tender
  • Add chicken stock and bay leaf
  • Simmer until potatoes are fully cooked
  • Blend with an immersion blender
  • Add thyme. Salt and pepper to taste